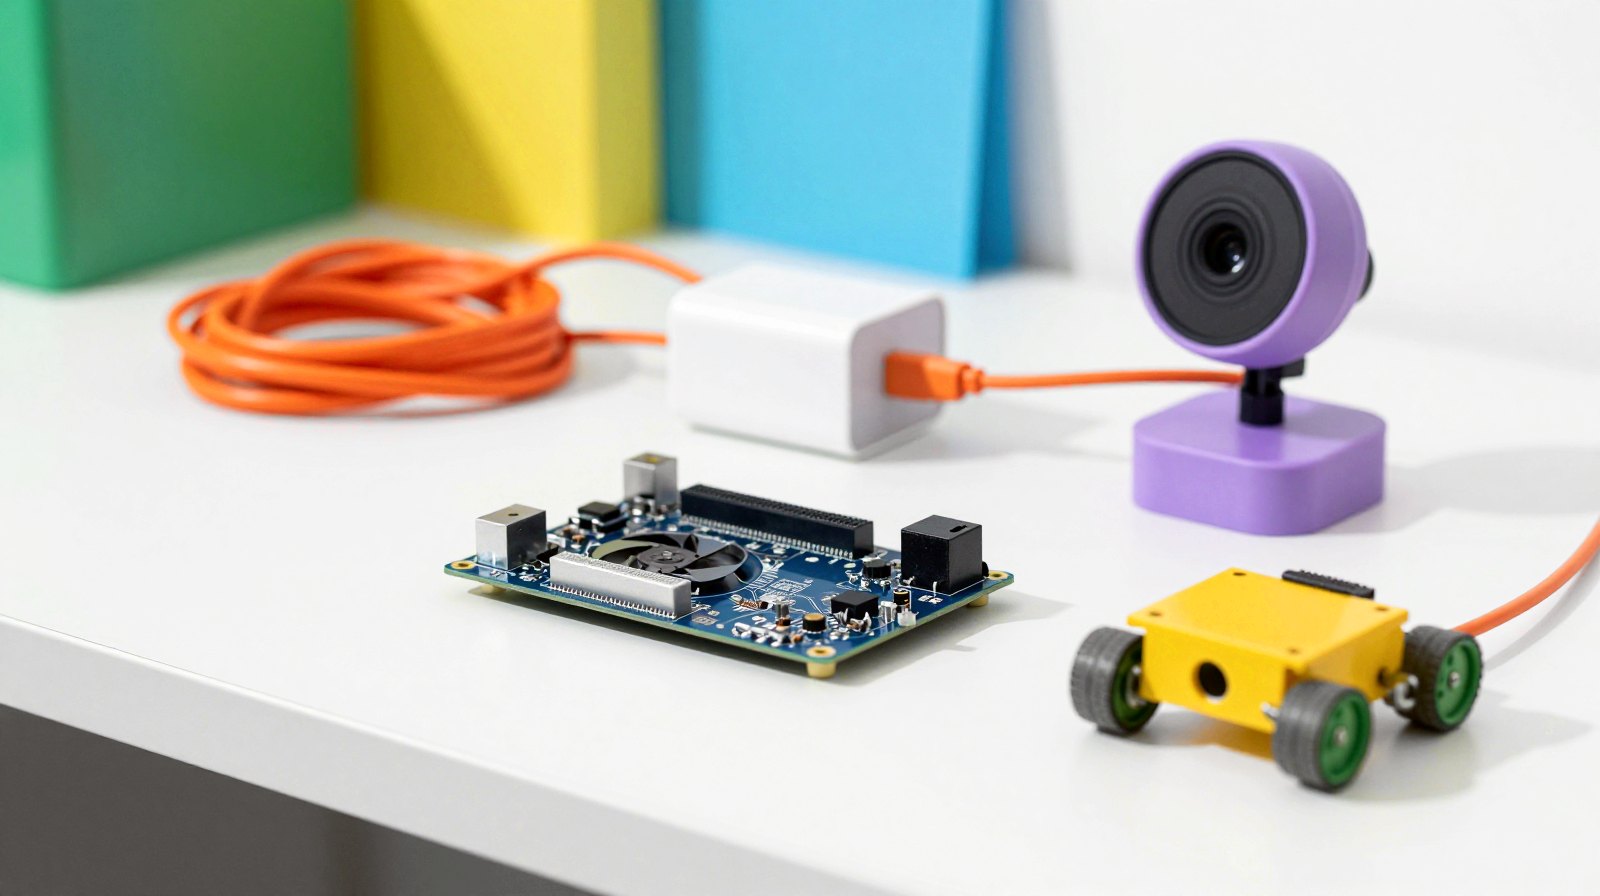
Our Arduino Ventuno Q article explained the board that gives robots eyes and a brain. Here’s what you need to get one working. It needs more than the board: the wrong charger won’t even start it, and your Raspberry Pi camera won’t work.
How we chose: we did not test these parts on the board. The list comes from Arduino’s datasheet and software release notes. Where we name a brand, it’s an example that fits the specification. Price ranges: Budget = under $100, Mid-range = $100-300, Premium = over $300.
Shopping list
| Part | Do you need it? | Our pick | Price range |
|---|---|---|---|
| The board | Yes | Arduino Ventuno Q | Premium |
| Power | Yes | 65 W USB-C charger and cable | Budget |
| Camera with microphone | Yes, for vision and voice | Arduino USB Camera, or a USB webcam | Budget |
| Extra storage | Optional | WD_BLACK SN770M (M.2 2230) | Mid-range |
| Cheaper alternative board | Instead of the Ventuno Q | Arduino UNO Q | Budget |
The board: Arduino Ventuno Q
The Arduino Ventuno Q has an Amazon listing, but when we checked, search results showed it as unavailable. Arduino’s own US store was taking pre-orders, with delivery in 3 to 4 weeks. The heatsink and fan are included, so you don’t need to buy cooling.
Who it’s for: builders of robots and smart cameras. Not for: a first electronics project.
Power: a 60 W USB-C charger
This is the easiest mistake to make. The datasheet asks for USB-C Power Delivery up to 20 V at 3 A, with 60 W or more recommended. A 5 V phone charger won’t do, and Arduino’s power notes say a 5 V-only source won’t start the board. This UGREEN 65 W charger with USB-C cable fits the numbers. Arduino’s store page still mentions 5 V, but the newer datasheet is the one to follow. For a robot or fixed installation, the barrel jack takes 12 or 24 V.
Eyes and ears: a USB camera
The board has no microphone or headphone jack, and its camera connectors are picky. Arduino officially supports only the Arducam IMX577 Mini on them. Raspberry Pi cameras are marked as not supported, even though the 40-pin header works with Pi HATs.
The easy route is one USB camera with a built-in microphone. Arduino sells its own USB camera, which we couldn’t find on Amazon. The board supports standard USB webcams, so this Arducam 8 MP USB camera with microphone should also work, though Arduino doesn’t list it.
Optional: more storage
Want room for AI models and video? The slot takes only the tiny M.2 2230 size, and most shop SSDs are the longer 2280, which won’t fit. The WD_BLACK SN770M is the right size. It stores data only, because the board can’t boot from this slot. Arduino has no list of approved drives, so treat this as a fit by size, not a tested match.
The cheaper alternative: Arduino UNO Q
The Arduino UNO Q (4 GB) has the same two-brain idea with far less AI power. It’s a great way to learn, but it isn’t a like-for-like swap. It has one USB-C port, so a USB camera needs a powered hub, and it uses a 5 V charger instead.
FAQ
Which motors should I use? Arduino names none, so we don’t either. Its robot article mentions only its Modulino distance and movement sensors.
Does a charger come in the box? Sources disagree, so plan on buying one.
Read next
- Arduino Ventuno Q: the board that gives robots eyes and a brain
- Use your Raspberry Pi as an AI image generator
Show sources (7)
- VENTUNO Q datasheet – Arduino, modified 3 November 2026
- Ubuntu 24.04 release notes v1.2 – Arduino and Canonical, 15 October 2026
- Power specifications – Arduino, consulted 4 November 2026
- Ventuno Q – Arduino US store, consulted 4 November 2026
- USB Camera – Arduino store, consulted 4 November 2026
- Building smarter AMRs with VENTUNO Q – Arduino, 11 September 2026
- Arduino Ventuno Q SBC – CNX Software, 25 August 2026
The week's best tech stories, free
One email a week with the stories that matter, explained simply. No spam.
Disclosure: this article contains affiliate links
If you buy through them, DIGITAL WOXTER TECHNEWS may earn a commission at no extra cost to you. Our picks are based on specifications, prices and published reviews, not on any payments. As an Amazon Associate I earn from qualifying purchases.