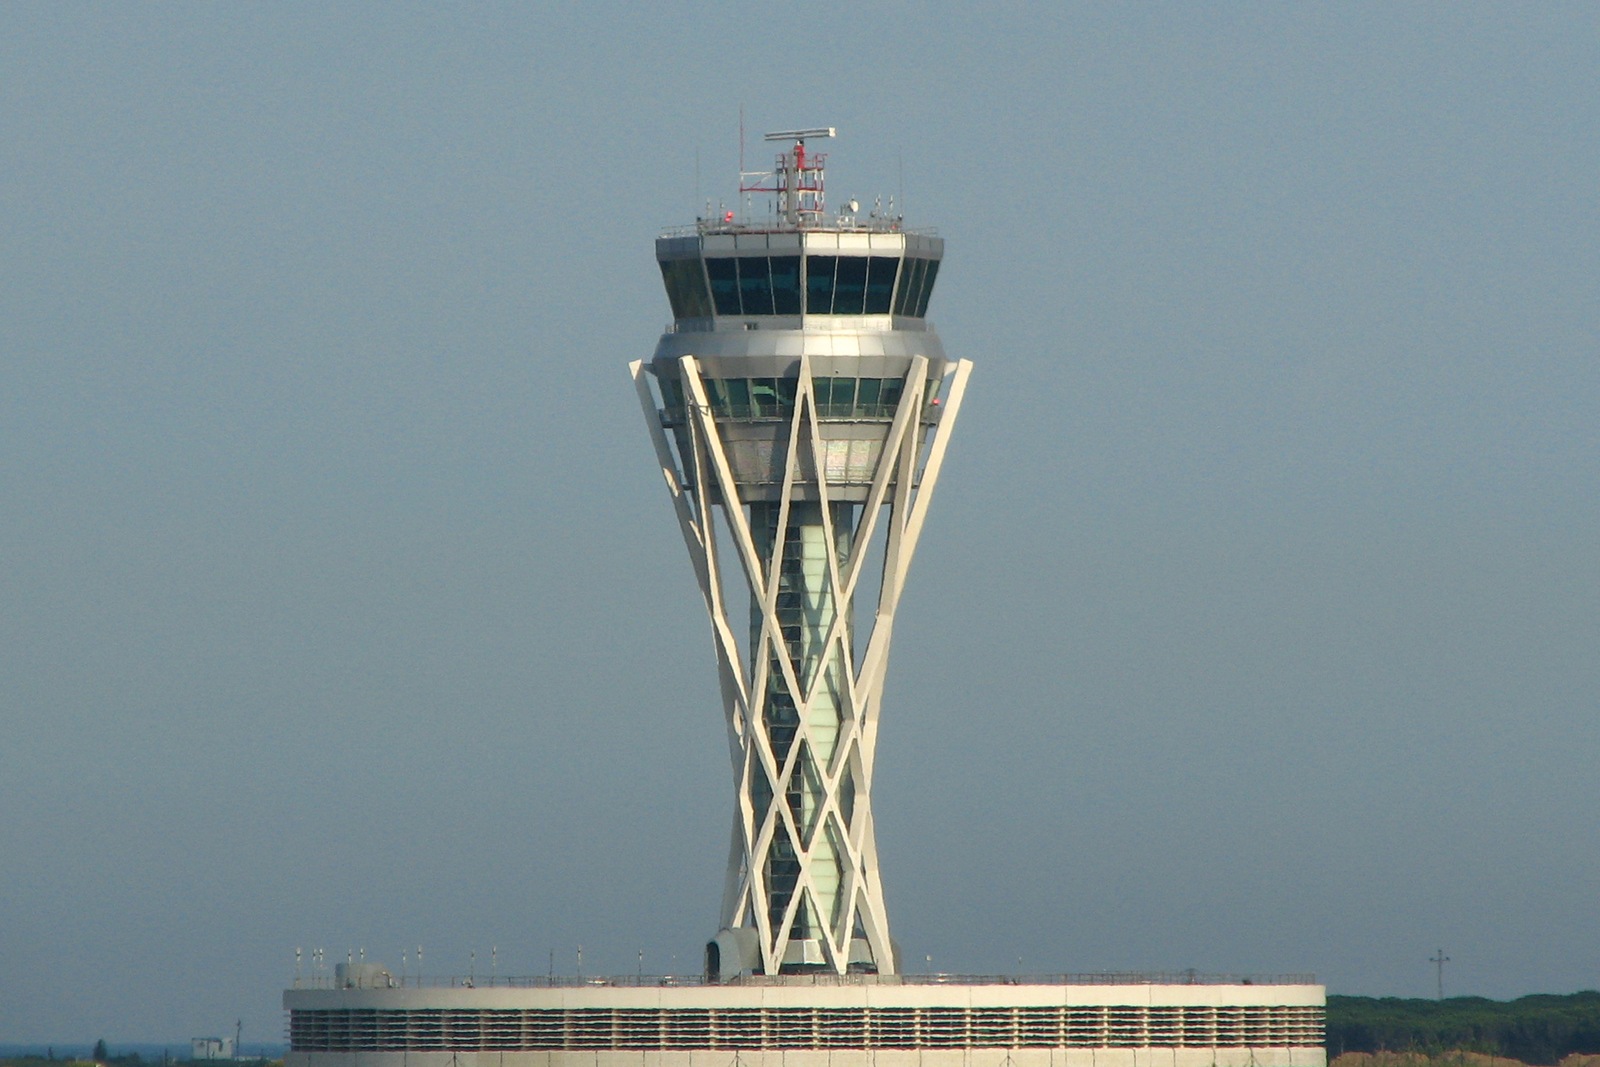
Our Raspberry Pi plane radar guide shows how to catch the signals planes broadcast and watch them on your own live map. Here’s what to buy for it, plus the cable that’s easy to forget.
How we chose: we did not build this ourselves. The list comes from FlightAware’s build guide and its Pro Stick pages. Prices move often, so follow the links for today’s price. Price ranges: Budget = under $100, Mid-range = $100-300, Premium = over $300.
Shopping list
| Part | Do you need it? | Our pick | Price range |
|---|---|---|---|
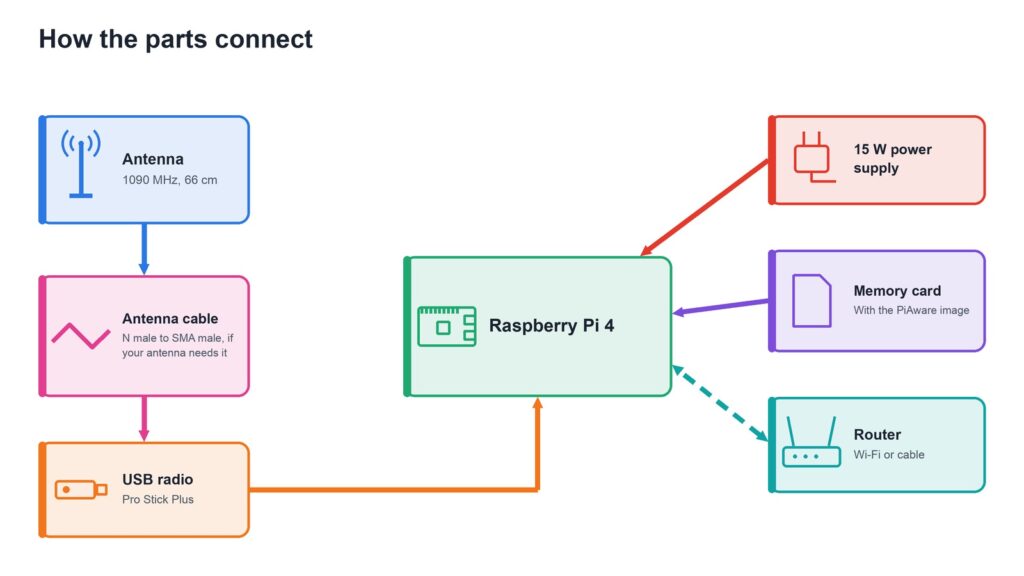
| Board | Yes | Raspberry Pi 4, 2 GB | Budget to Mid-range |
| Power | Yes | Official 15 W USB-C supply | Budget |
| Memory card | Yes | Samsung EVO Select 64 GB | Budget |
| USB radio | Yes | FlightAware Pro Stick Plus | Budget |
| Antenna | Yes | FlightAware 1090 MHz, 66 cm | Budget |
| Antenna cable | Yes, check your connectors | N male to SMA male | Budget |
The software is free. Together, the parts land in our Mid-range band.
The board: Raspberry Pi 4
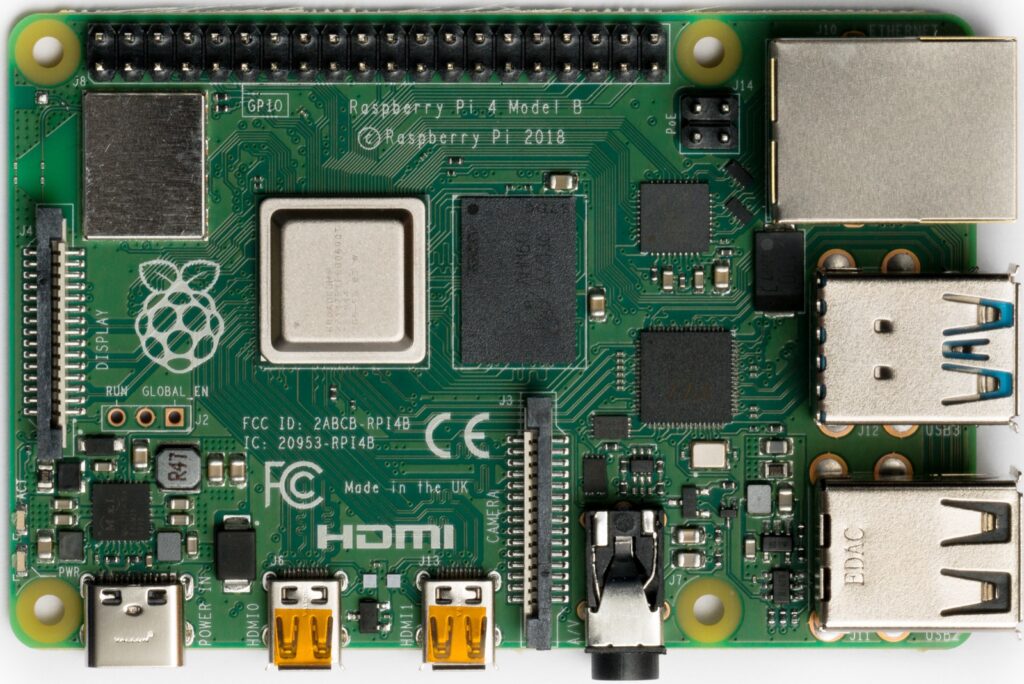
The Raspberry Pi 4 with 2 GB is on FlightAware’s list of boards and has power to spare. Already own a Pi 3 or Pi 4? Use that. Flightradar24’s Pi24 accepts a Pi 3B+ or newer, while FlightAware’s page doesn’t list the Pi 5.
Power: official 15 W supply
The Raspberry Pi 15 W USB-C power supply gives a Pi 4 the 5.1 V and 3 A it’s designed for. The Pi also feeds the USB radio, so a weak phone charger is a false economy. Check the listing, and in Europe make sure the plug suits your sockets.
Memory card: Samsung EVO Select
FlightAware asks for 8 GB or more, so the Samsung EVO Select 64 GB is more than enough. Writing the image erases the card, so don’t reuse one with photos on it.
USB radio: Pro Stick Plus
The FlightAware Pro Stick Plus is made for this job, with a 19 dB amplifier and a built-in 1090 MHz filter that helps in cities. In the countryside, FlightAware generally advises against filtering, so its plain Pro Stick may suit you better. Don’t buy the Nooelec NESDR SMArt XTR: Nooelec itself doesn’t recommend it for ADS-B.
Antenna: 1090 MHz, 66 cm
The FlightAware 1090 MHz antenna is 66 cm long and tuned for this frequency. It’s the part that most affects how far you can see, so if you have to spend a little more somewhere, spend it here. FlightAware says a clear line of sight to the sky matters most, and that outdoor setups reach furthest.
The cable that’s easy to forget
The stick has an SMA socket, and larger outdoor antennas often use a bigger N connector. If yours does, you need a low-loss N male to SMA male cable. Check three things first: the connector on your antenna, the length, and that it says SMA, not RP-SMA. Keep it as short as you can, because every metre loses signal.
Upgrades for later
- A small screen: FlightAware has an image for a 3.5-inch Waveshare display.
- Surge protection: FlightAware lists a surge suppressor as an option for outdoor setups.
- A case: a basic Pi 4 case keeps off dust and fingers, but it isn’t essential.
Read next
- Got a Raspberry Pi? You can now enjoy your own air traffic control tower at home
- What you need to build a Raspberry Pi safety camera
Show sources (4)
- Build your own ADS-B ground station with PiAware – FlightAware, consulted 6 November 2026
- Pro Stick and Pro Stick Plus – FlightAware, consulted 6 November 2026
- Build your own ADS-B receiver – Flightradar24, consulted 6 November 2026
- NESDR SMArt XTR listing – Nooelec on Amazon.es, consulted 6 November 2026
The week's best tech stories, free
One email a week with the stories that matter, explained simply. No spam.
Disclosure: this article contains affiliate links
If you buy through them, DIGITAL WOXTER TECHNEWS may earn a commission at no extra cost to you. Our picks are based on specifications, prices and published reviews, not on any payments. As an Amazon Associate I earn from qualifying purchases.