
Right now, the planes above you are quietly telling the world where they are. With a Raspberry Pi, a small USB radio and an antenna, you can catch those signals yourself and watch every nearby flight move across your own live map. It’s a brilliant weekend project, and you may never look at the sky in quite the same way.
Why it matters: this is real aviation data, received from your own home. “Radar” is just the fun name, though. A true radar sends out pulses, while your Pi only listens, so it transmits nothing at all. It’s also a great way to learn how radio, GPS and open-source software fit together.
How can a tiny computer see planes?
Most airliners carry a system called ADS-B. The plane works out where it is using satellite navigation, then broadcasts its identity, position, altitude and speed. Air traffic control and other aircraft use those messages, and anyone with a suitable receiver can hear them too.

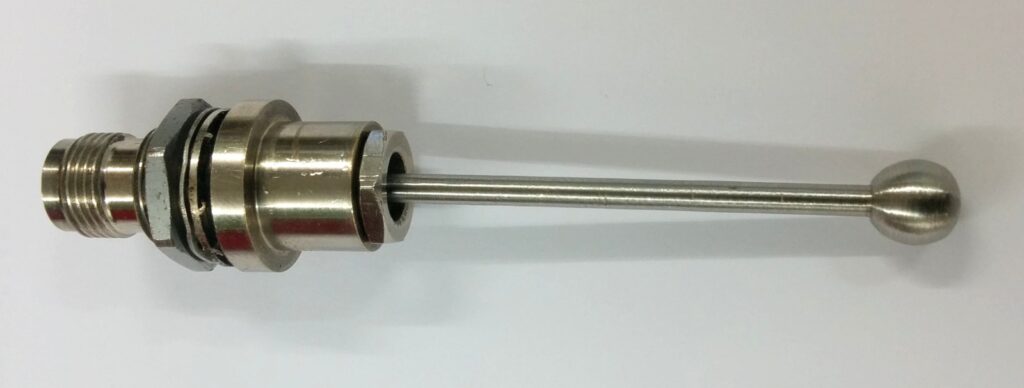
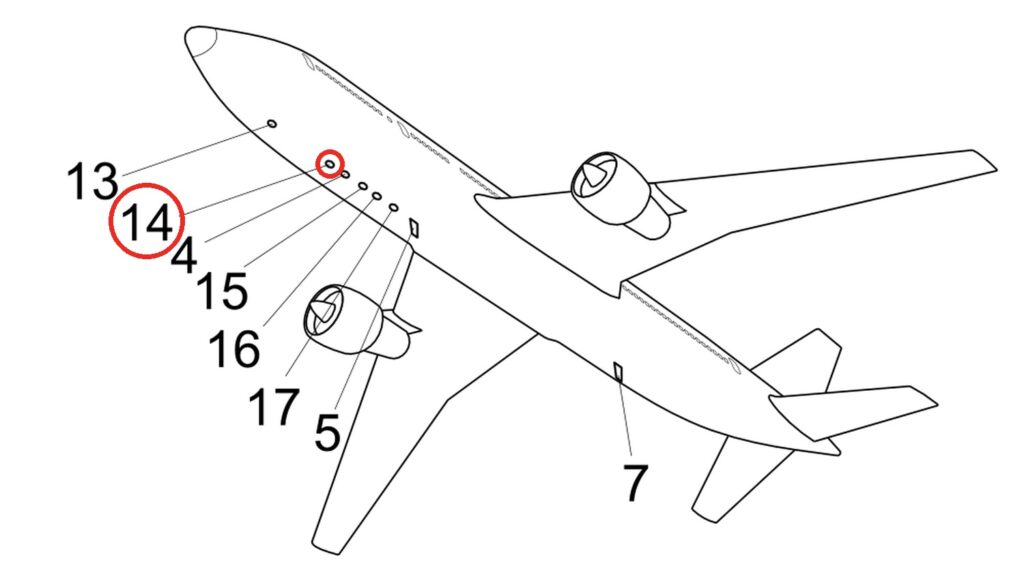
Those messages leave through the plane’s transponder antenna, which works on 1030 and 1090 MHz and can be surprisingly small. On a typical airliner, one sits under the fuselage, towards the front.
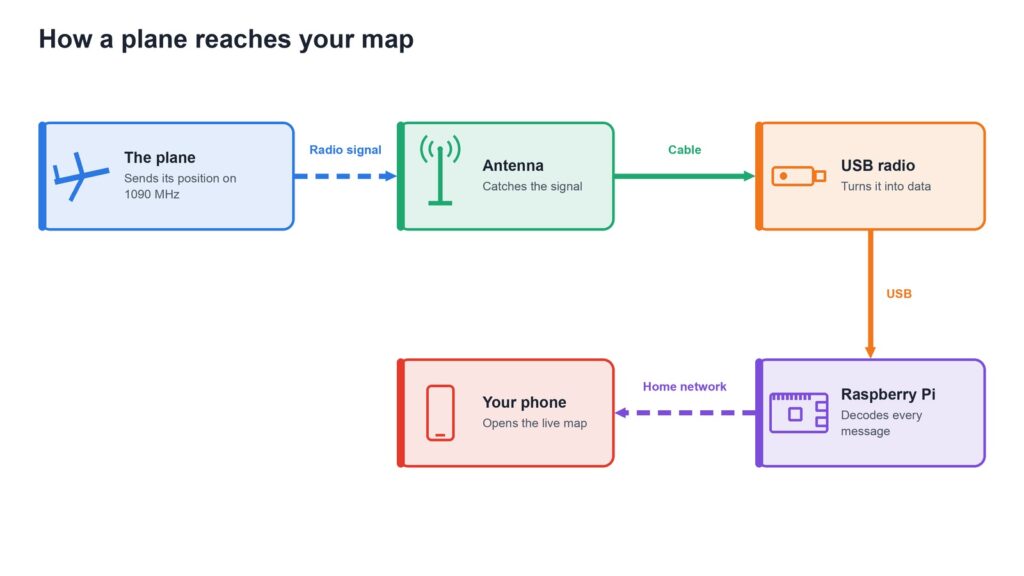
- The plane broadcasts on 1090 MHz, over and over.
- The antenna picks up that signal.
- The USB radio turns it into data the Pi can read.
- Free software on the Pi decodes each message and draws the planes on a map.
- You open that map in a browser on your phone or laptop, on your home network.
You won’t see everything. Not every aircraft sends ADS-B, so some small planes may be missing. In the US, some low-flying aircraft use a second frequency, 978 MHz, which this basic build doesn’t cover.
Which way should you build it?
| PiAware | Pi24 | tar1090 add-on | |
|---|---|---|---|
| Made by | FlightAware | Flightradar24 | Open-source project |
| Setup time | 1–2 hours | 1–2 hours | 30 minutes more |
| Difficulty | |||
| Listed boards | Pi 3, Pi 4, Zero W series | Pi 3B+ or newer | Runs on top of your setup |
| Best for | First-timers | Flightradar24 fans | The best map |
Setup times and difficulty are our own estimates. Difficulty: easy · moderate · difficult · expert.
The build, step by step
We didn’t build this one ourselves. These steps follow FlightAware’s own guide, which is the simplest place to start:
- Prepare the card: download the PiAware image, then write it to a memory card with Raspberry Pi Imager, choosing “Custom OS”. This erases the card.
- Add Wi-Fi: set it up by Bluetooth or in a small settings file on the card. Or just plug in a network cable.
- Plug everything in: card, USB radio, antenna and network, then power last. Give it four or five minutes to start.
- Claim your receiver: link it to a free FlightAware account.
- Set your position: enter your location and antenna height on your stats page.
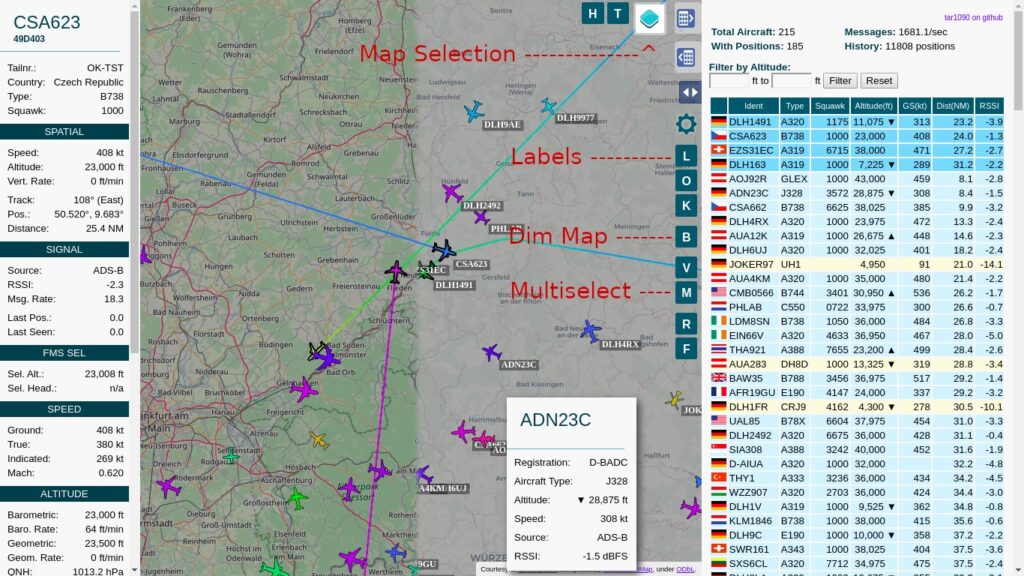
That’s it: planes should start appearing. For a richer view, add tar1090, a free map with a single install command. It lets you click any aircraft for its details, replay its recent track, and see the shape of your coverage over the last eight hours.
The antenna makes all the difference
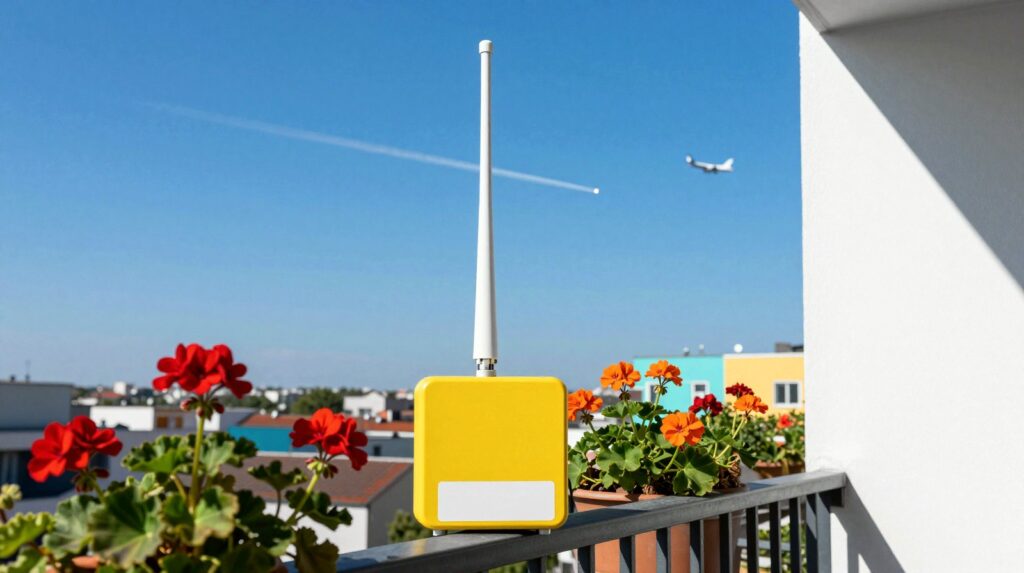
These signals travel in almost straight lines, so height and a clear view of the sky matter more than anything else. FlightAware says a station can usually track flights 100 to 300 miles away (about 160 to 480 km), and that the best rooftop setups pass 400 km. Treat those as top-end figures, because a Pi on a shelf behind a wall will see far less.
- Start simple: put the antenna at your highest window, then move it if you catch the bug.
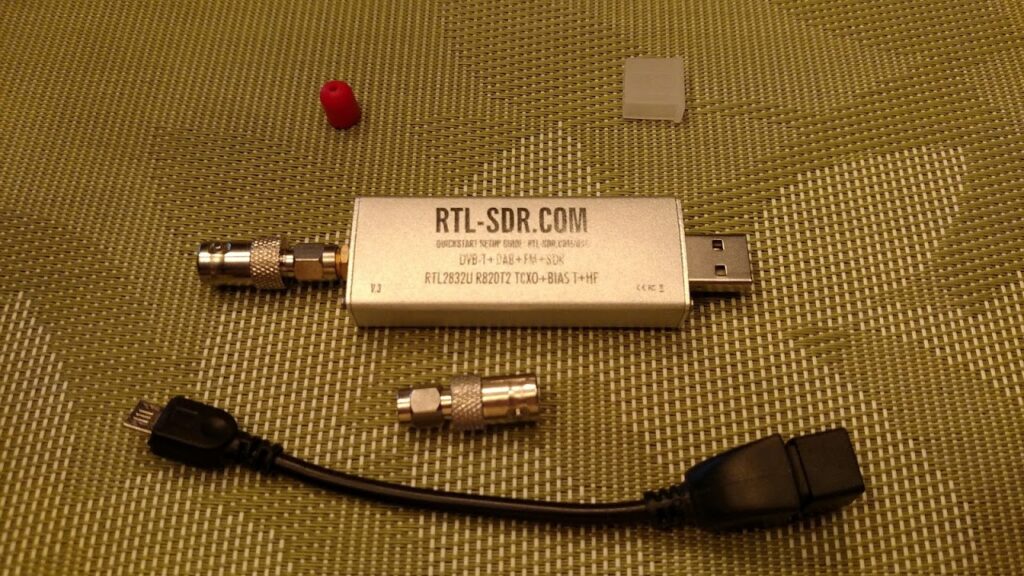
- Choose the right stick: FlightAware’s Pro Stick Plus has a built-in filter that helps in cities or near strong transmitters. FlightAware generally advises against filtering in the countryside.
- Going outdoors: FlightAware lists a surge suppressor as an option. Take care on roofs, and ask first if you share the building.
The nice bonus: free premium accounts
Your receiver doesn’t have to be a private toy. Share its data and these services say thanks. FlightAware offers feeders a free Enterprise account, which it values at $99.95 a month. Flightradar24 also gives contributors a free plan, which its pages call Business or Contributor, and that plan can lapse if your receiver stays offline for days. Check the current terms before you count on either.
Sharing is your choice, and those services will know where your antenna is. Rules on receiving radio signals also differ by country, across the EU, South America and Asia, so check yours first.
Ready to Make? Our Raspberry Pi plane radar parts list has everything you need, including the cable that’s easy to forget.
What happens next
Once the planes are flowing, the fun really starts. FlightAware offers a version of its image for a small 3.5-inch screen, so your radar could sit on a desk. Then comes the antenna game: higher, clearer, further. And next time you hear a plane, you can check your own map to see which one it is.
Read next
- Build a Raspberry Pi safety camera that alerts your phone
- Use your Raspberry Pi as an AI image generator
The week's best tech stories, free
One email a week with the stories that matter, explained simply. No spam.
Sources
- Build your own ADS-B ground station with PiAware – FlightAware, consulted 6 November 2026
- Pro Stick and Pro Stick Plus – FlightAware, consulted 6 November 2026
- Build your own ADS-B receiver – Flightradar24, consulted 6 November 2026
- Share your ADS-B data – Flightradar24, consulted 6 November 2026
- ADS-B Out Explained – FAA Safety Team, 2024
- tar1090 – Matthias Wirth, GitHub, consulted 6 November 2026