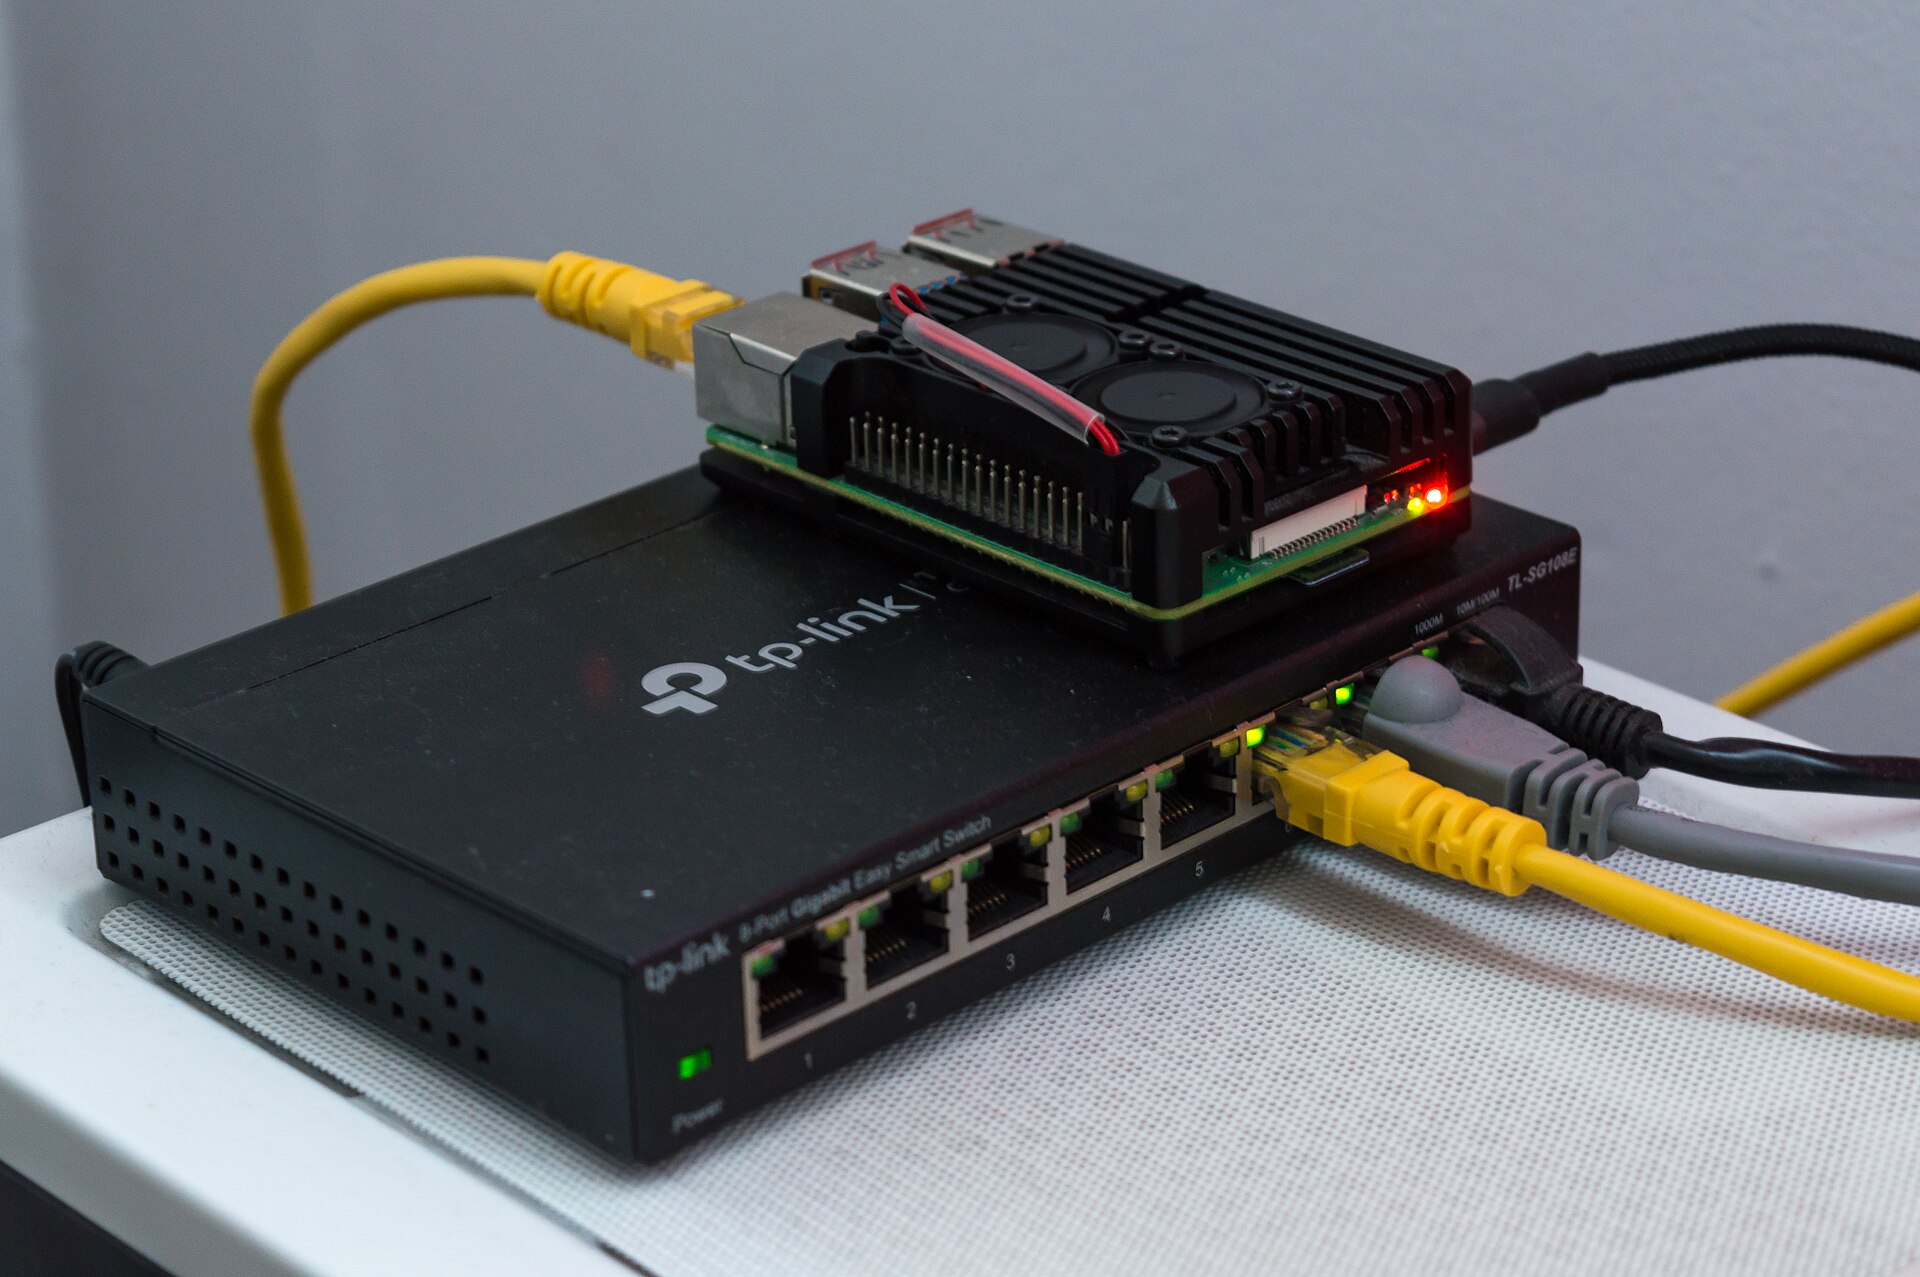
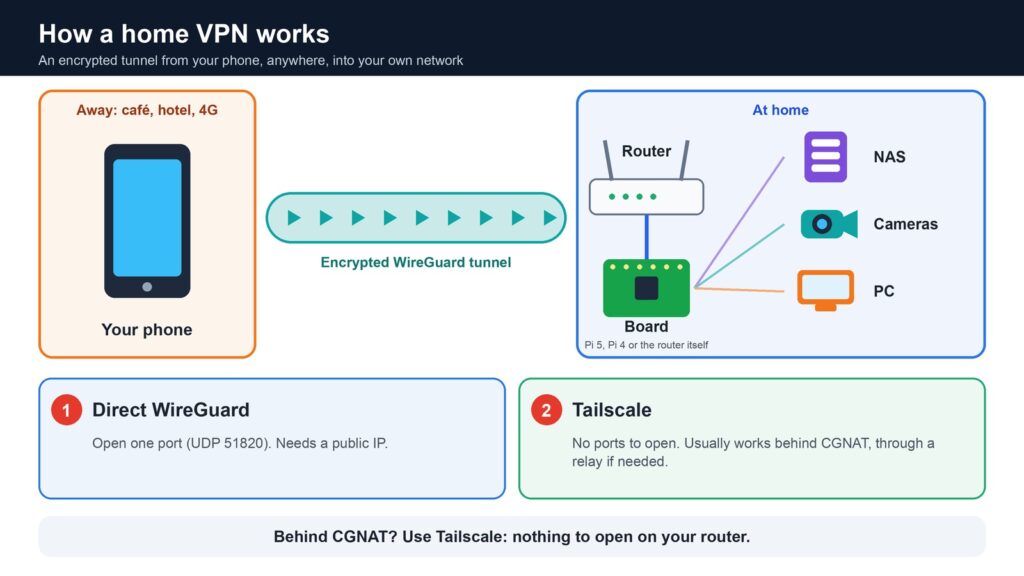
Want to open your home files, cameras or NAS from a café, a hotel or the other side of the world, safely? A home VPN does exactly that: it builds an encrypted tunnel from your phone or laptop straight into your own network. So which board should run it? The short answer: a Raspberry Pi 5 if you like to tinker, or a GL.iNet router with WireGuard built in if you want it working in ten minutes. ESP32 and classic Arduino boards can’t do the job.
Why it matters: a home VPN costs almost nothing, since it runs on a few watts, and it keeps your private devices off the open internet. Here’s how every board compares, based on published tests and official specifications. We did not build these ourselves.
What is a VPN, and what is it for?
A VPN (virtual private network) is an encrypted tunnel between your phone or laptop and another network. Everything that travels through it is scrambled, so nobody on the way can read it. There are two kinds:
- A home VPN, the subject of this comparison: the tunnel ends in your own house. You use it to open your NAS, cameras or computer from anywhere, and to browse safely through your home connection on public Wi-Fi.
- A worldwide VPN service: the tunnel ends in a company’s server, in the country you choose. You use it to browse as if you were in that country, to reach services from other countries and to keep your browsing private.
Every board, head to head
| Board | Difficulty | WireGuard speed (tested) | Idle power | Rating |
|---|---|---|---|---|
 Raspberry Pi 5 |
About 800 Mbps* | 2.4-3.3 W | +++ Best for makers | |
 GL.iNet Flint 2 router |
834-888 Mbps as a server | No idle figure (under 20 W max) | +++ Easiest, built in | |
| Raspberry Pi 4 |
About 500 Mbps* | No reliable figure | ++ Great if you already have one | |
| Raspberry Pi Zero 2 W |
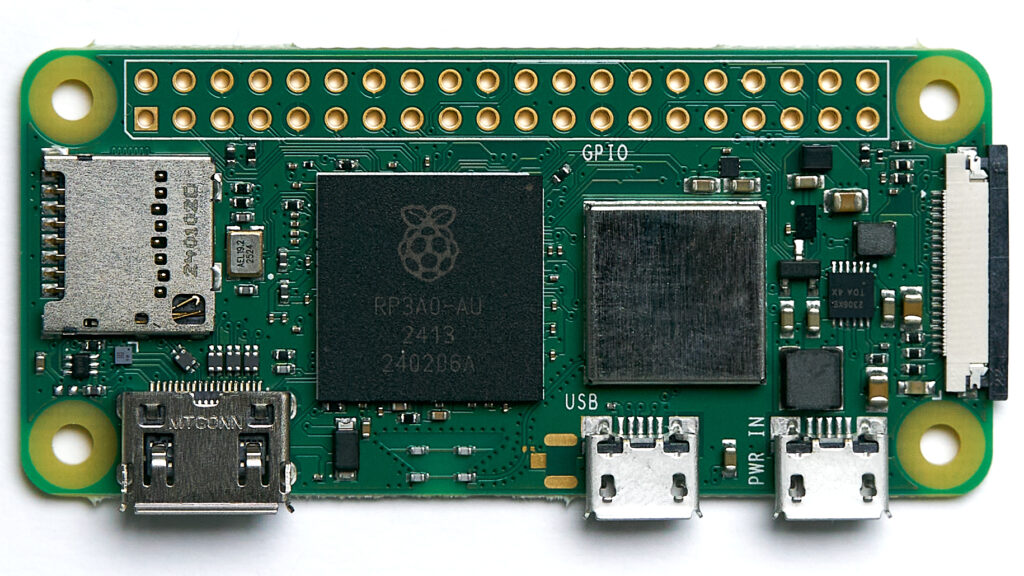
None found over Wi-Fi | 0.5-0.6 W | + A tiny VPN for a few phones | |
 Intel N100 mini PC |
None found between two machines | 10.5-12 W | + Overkill unless it is also your firewall | |
 Arduino UNO Q / Ventuno Q |
None found | None found | − Maybe, not proven | |
 ESP32 |
5-15 Mbps as a tiny router | – | −− Client only, for one gadget | |
| Classic Arduino (UNO R4) |
– | – | – | −− Can’t: no Linux |
* Pi figures are one user’s real-world tests on the Raspberry Pi forums (May 2024). A synthetic test on one board, collected by the OpenWrt WireGuard database, gives 2.6 Gbps for the Pi 5 and about 1 Gbps for the Pi 4, but both boards have Gigabit ports, so the cable stops them near 940 Mbps anyway. Flint 2 figures are CNX Software’s test (January 2024). Power: Pi 5 and Zero 2 W from Jeff Geerling and CNX Software, N100 from ServeTheHome. “None found” means nobody we could find has measured it, so we won’t guess. Rating: +++ best · ++ very good · + works · − not proven · −− can’t do it. Difficulty: easy · moderate · difficult · expert. Ratings and difficulty are our own judgement from the tests and specifications.
For a home VPN, speed matters less than you’d think: you’re limited by your home upload speed and by the network you’re on. Even 100 Mbps is plenty to watch your home cameras or open files.
Why ESP32 and classic Arduino can’t do it
A classic Arduino like the UNO R4 WiFi is a microcontroller: a 48 MHz chip with 32 kB of memory and no operating system. A VPN server needs Linux, a full network system and far more memory.
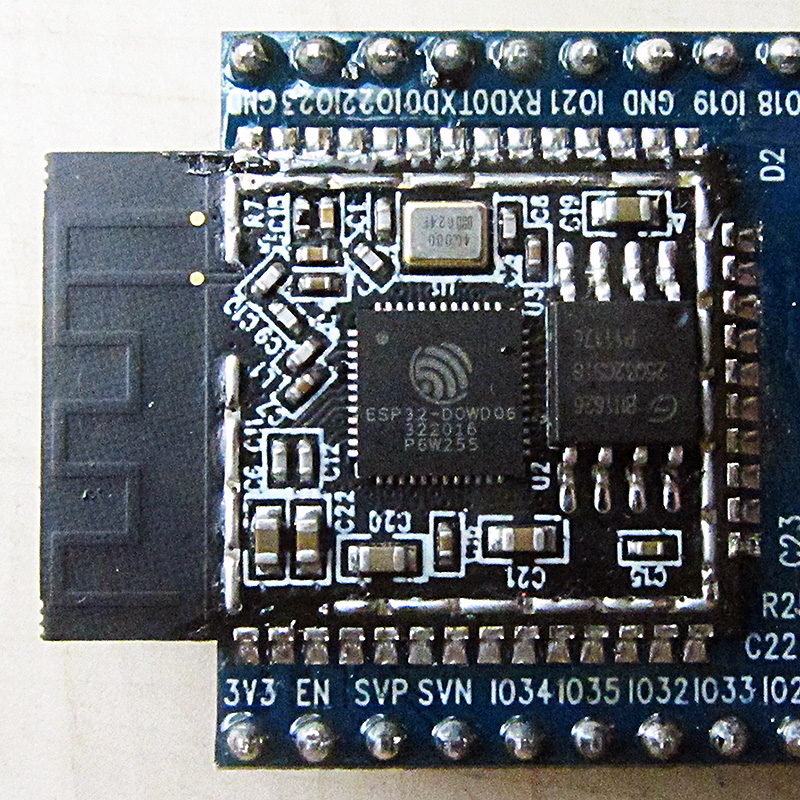
The ESP32 is cleverer. Libraries such as esp_wireguard let it connect out to a WireGuard server, which is handy for one sensor that needs to report home securely. But it’s a client, not a server, and the ESP32 NAT router project says to expect 5-15 Mbps for a handful of devices, and that it’s no replacement for a real router.
Arduino’s newer boards run Linux, so they’re a different story. The UNO Q has no Ethernet port, and the only report we found is a user who couldn’t get WireGuard working without breaking the system. The Ventuno Q has 2.5 Gigabit Ethernet and 16 GB of memory, so it could probably do it, but it’s a premium AI board and nobody has tested it as a VPN.
Three ways to run a home VPN
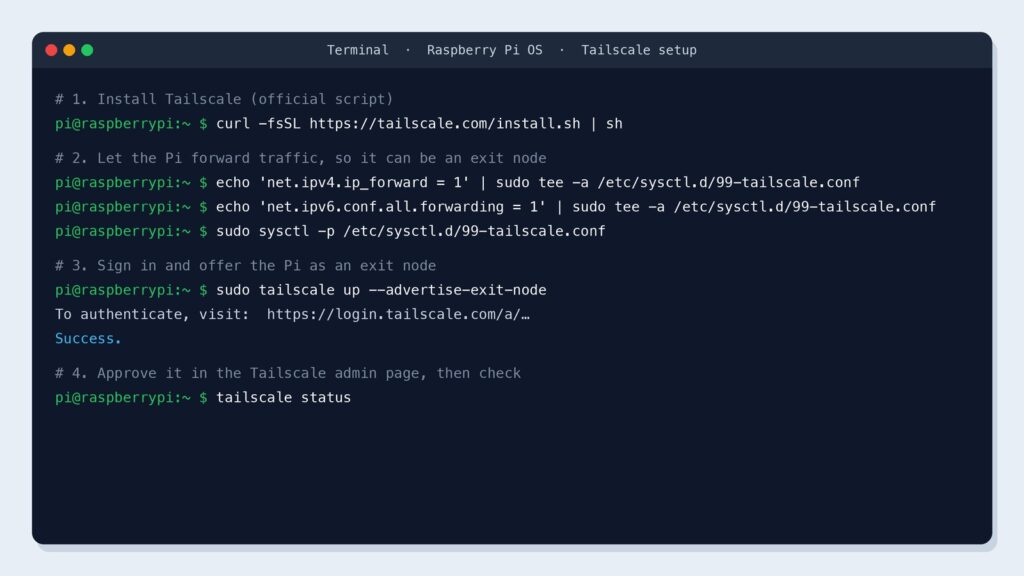
1. Tailscale (easiest). Install it on your board and your phone, sign in, done. Tailscale uses WireGuard encryption and finds its way through most home routers on its own, so you don’t need to open any ports. Its free Personal plan now covers up to 6 users and unlimited devices for non-commercial use, after a pricing change in April 2026. Turn your Pi into an exit node and all your traffic goes out through home, which is useful on hotel Wi-Fi.
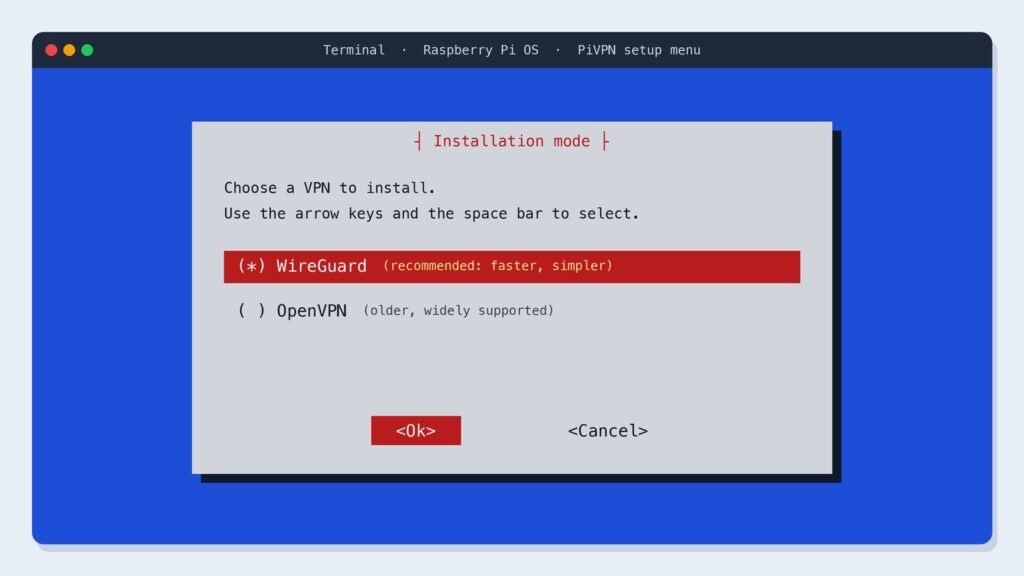
2. wg-easy (a web page for WireGuard). wg-easy runs WireGuard with a simple admin page where you add a phone by scanning a QR code. It’s actively developed, with version 15.5 out in October 2026. You’ll need to forward one port on your router (UDP 51820 by default).
3. PiVPN (the classic). For years the go-to script for Pi VPNs. Its makers announced its end in April 2024, then kept it going on a best-effort basis, with the latest release in September 2025. It still works, but we’d start a new build with Tailscale or wg-easy.
| Tailscale | wg-easy | PiVPN | |
|---|---|---|---|
| Setup time | About 15 minutes | About 1 hour | About 1 hour |
| Difficulty | |||
| Open a port on your router? | No | Yes | Yes |
| Works behind CGNAT? | Usually | No | No |
| Depends on a company? | Yes, for sign-in | No | No |
| Best for | Beginners | Full control | Existing setups |
Setup time and difficulty are our own estimates for a first-timer. Difficulty: easy · moderate · difficult · expert.
The CGNAT trap: check this first
A classic WireGuard server needs your router to have its own public internet address, so your phone can knock on its door. Many operators now share one address between lots of customers, a system called carrier-grade NAT (CGNAT). Behind CGNAT you can’t open a port at all.
- Spain: according to Xataka Móvil and Androidguías, Digi uses CGNAT by default (a public address costs €1 a month with its Conexión Plus), and several smaller operators use it too, while Movistar, Vodafone and O2 did not. Policies change, so ask your operator.
- Rest of the EU, South America and Asia: many operators use CGNAT too, most often on mobile and 4G/5G home connections, because public IPv4 addresses have run out. Check with yours before you build.
The fix is simple: use Tailscale, which works behind CGNAT in most cases (it relays the connection when a direct link is impossible), or ask your operator for a public IP.
Build a home VPN or use a worldwide VPN service?
They sound alike, but they do opposite jobs. A home VPN brings you back into your own network. A worldwide VPN service sends your traffic out through the provider’s servers, for privacy on public Wi-Fi or to appear in another country.
| Home VPN on your board | Worldwide VPN service | |
|---|---|---|
| Reach your NAS, cameras and PC | Yes | Only with extra features, see below |
| Protect you on public Wi-Fi | Yes, through your home | Yes |
| Appear in another country | No, only at home | Yes, many countries |
| Speed limited by your home upload | Yes | No |
| Cost | The board and a few watts | A subscription |
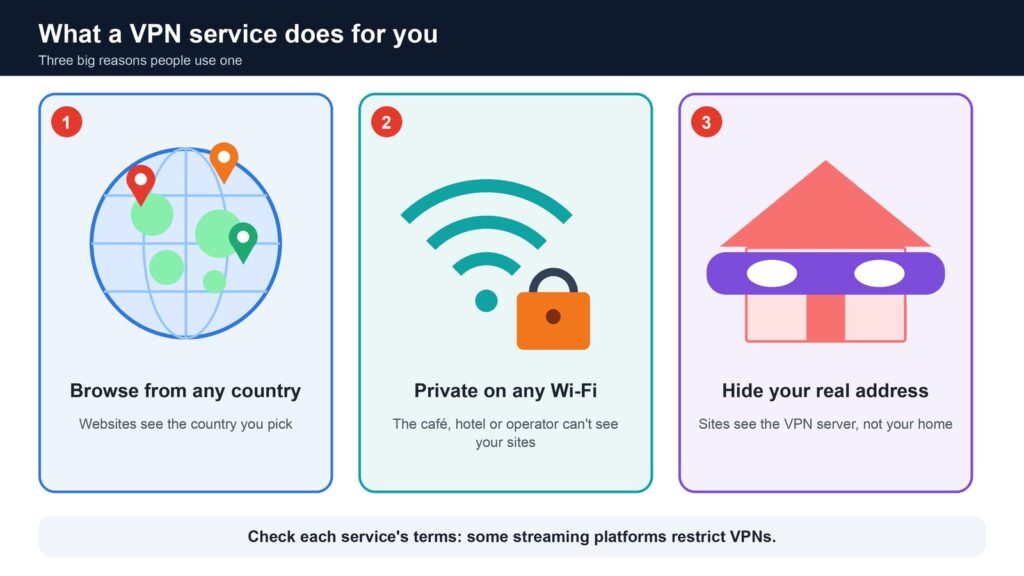
What a VPN service does for you:
- Browse from the country you choose. Your traffic leaves through a server in the country you pick, so websites and services see that location. It’s handy when travelling, to reach your bank, your news or the TV services of your own country, or to see a site as it looks elsewhere. Check each service’s terms, as some streaming platforms restrict VPNs.
- Keep your browsing private. The owner of the café Wi-Fi, the hotel network or your operator can’t see which sites you visit, only that you’re connected to a VPN.
- Hide your real address. The sites you visit see the VPN server’s IP address, not your home’s.
It doesn’t make you invisible: sites still know you when you log in or accept their cookies, and the VPN company itself carries your traffic, so choose one you trust.
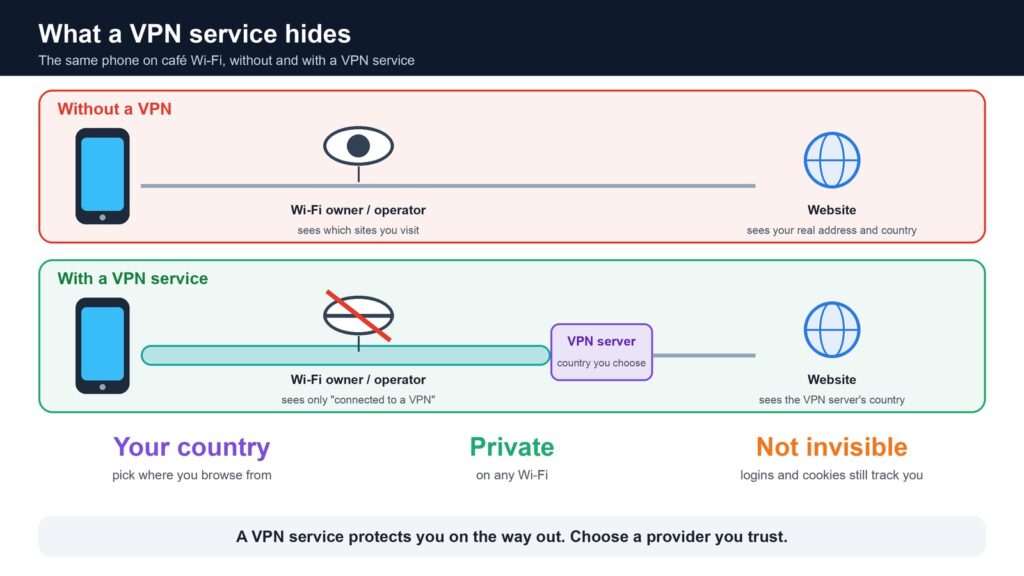
Many VPN services now use WireGuard too and offer apps for Linux and Raspberry Pi, and GL.iNet routers can connect to several of them directly. Many people use both: a home VPN to reach their own things, and a VPN service for privacy and travel.
Our picks
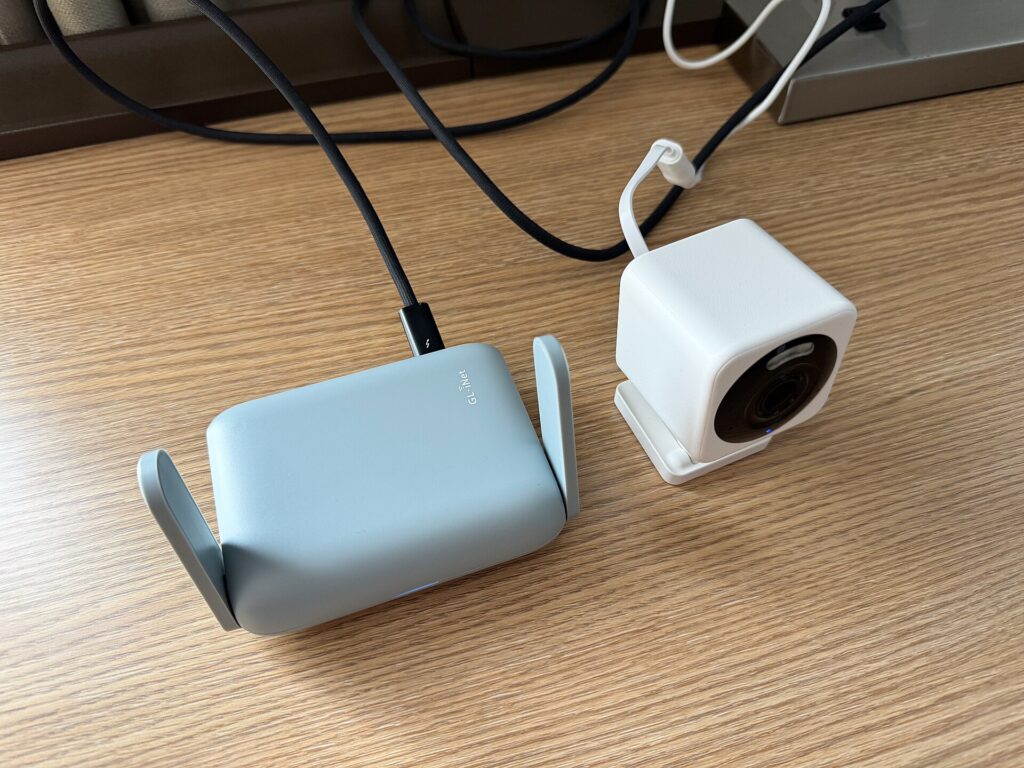
Easiest: a GL.iNet Flint 2 as your home router, with its WireGuard server switched on or Tailscale (still labelled beta in GL.iNet’s firmware). No extra box, and it was the fastest tested option here.
Best for makers: a Raspberry Pi 5 with 2 GB of memory, a good power supply and a microSD card or small SSD, running Tailscale or wg-easy. The 2 GB model is enough for a VPN and the most frugal at idle. Plug it into your router with a cable, not Wi-Fi.

Already have a Pi 4? Use it. It’s plenty for a home VPN. A Pi Zero 2 W also works for a couple of phones, but it has no Ethernet port.
Stay safe
- Keep the board updated, and never expose its admin page to the internet.
- Give each phone or laptop its own key, and delete a key when you lose the device.
- A home VPN protects your trip home. It doesn’t make you anonymous online.
Ready to Make? Our home VPN parts list shows exactly what to buy for the Raspberry Pi build, and the easy router alternative.
What happens next
We’ll keep this comparison updated: if someone tests WireGuard on an Arduino Ventuno Q or a measured Pi 5 server result appears from a lab, it goes in the table.
Read next
- Raspberry Pi vs Arduino: which makes the best home NAS?
- What are the CPU, GPU, NPU and TPU? The definitive guide
The week's best tech stories, free
One email a week with the stories that matter, explained simply. No spam.
Sources
- Slow VPN speeds – Raspberry Pi Forums, 29 May 2024
- A WireGuard comparison DB – OpenWrt Forum, from 11 February 2024
- GL.iNet Flint 2 review, part 2 – CNX Software, 15 January 2024
- GL-MT6000 datasheet – GL.iNet, November 2025
- Tailscale – GL.iNet docs, consulted 8 November 2026
- New 2GB Pi 5 has 33% smaller die, 30% idle power savings – Jeff Geerling, August 2024
- Raspberry Pi Zero 2 W power consumption – CNX Software, 9 December 2021
- Fanless Intel N100 firewall appliance review – ServeTheHome, 8 June 2023
- UNO R4 WiFi and UNO Q – Arduino docs, consulted 8 November 2026
- Arduino Ventuno Q announcement – Arduino blog, 9 March 2026
- Arduino UNO Q4 ASL3 – AllStarLink Community, 15 June 2026
- esp_wireguard and esp32_nat_router – GitHub, consulted 8 November 2026
- Pricing, Pricing v4 (8 April 2026) and Connection types – Tailscale
- wg-easy and PiVPN releases – GitHub, consulted 8 November 2026
- PiVPN releases final version – Linuxiac, 7 April 2024
- RFC 6598 – IETF, April 2012
- CG-NAT: qué operadores lo usan – Xataka Móvil, 16 September 2023
- Qué es CGNAT – Androidguías, updated 23 April 2025
- VPN client profiles – GL.iNet docs, consulted 8 November 2026