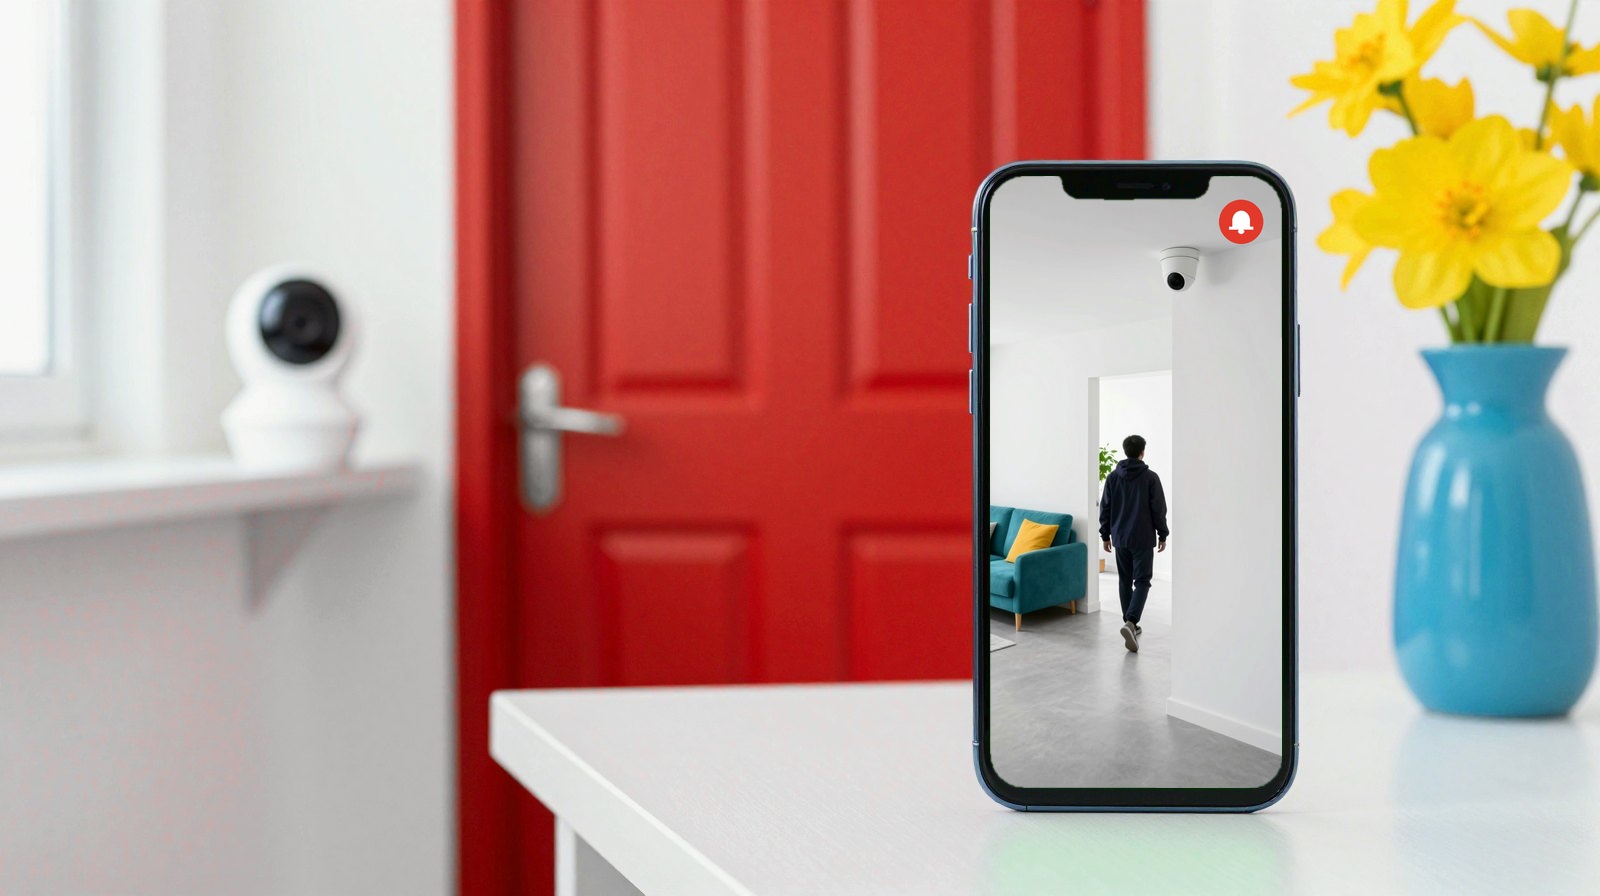
Want a camera that sends a photo to your phone the moment something moves at your door? You can build one with a Raspberry Pi in an afternoon, with free software and no monthly fee. Your footage stays at home, and you’ll learn how it all works along the way.
Why it matters: most ready-made cameras are simpler, but many depend on a company’s cloud account. With a Pi, the recordings live on your own card, and you decide what leaves the house. One honest note: with Raspberry Pi prices up in 2026, this is rarely cheaper than buying a camera. You build it to learn, and to keep control.
Which way should you build it?
| Simple script | motionEye | AI Camera | Frigate + AI HAT+ | |
|---|---|---|---|---|
| Spots | Any movement | Any movement | Objects | People, cars and more |
| Setup time | 1–2 hours | 1–3 hours | 2–3 hours | Half a day to a weekend |
| Difficulty | / | |||
| False alarms | ++ (shadows, pets) | + | − | −− |
| Phone alerts | You add them | Telegram option | You add them | Built in, more setup |
| Best for | First-timers | A web page, no code | A second project | Advanced builders |
Setup time, difficulty and false alarms are our own estimates. Difficulty: easy · moderate · difficult · expert. False alarms: ++ more · + moderate · − fewer · −− fewest.
One warning: motionEyeOS is a different project from the motionEye app, and its last stable release dates from 2020, so skip it, along with old tutorials that use raspistill.
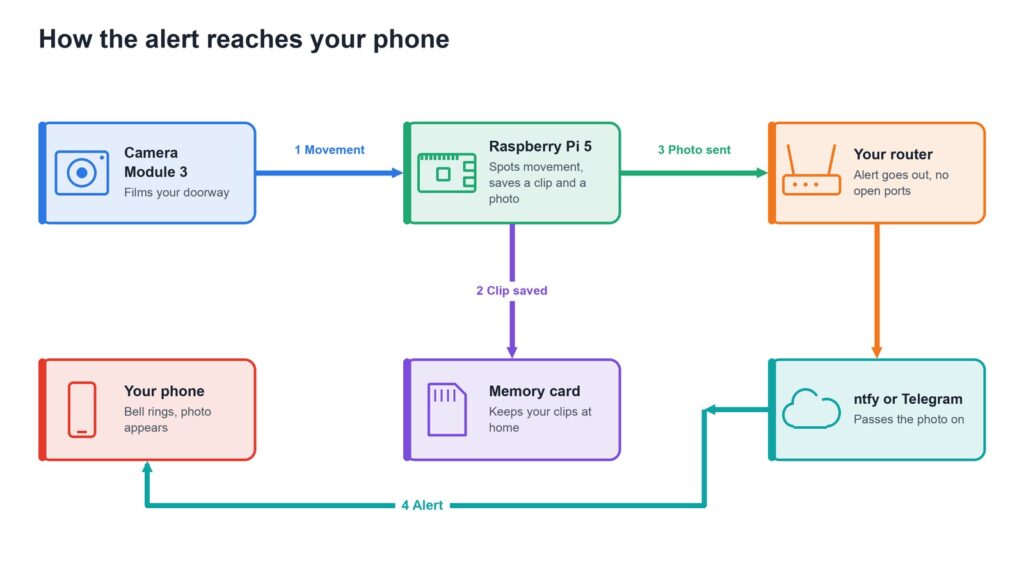
How the simple build works
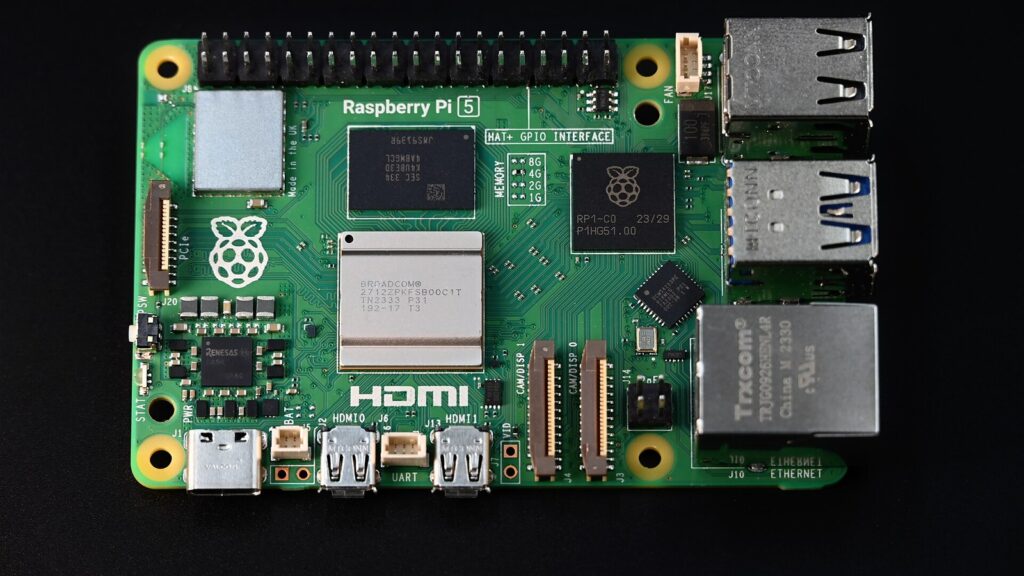
The simple route uses Picamera2, Raspberry Pi’s official camera library, which is already installed on the standard Raspberry Pi OS. You don’t need to be a programmer, as its manual comes with motion and recording examples you can adapt.
- Watch: the Pi compares small versions of each video frame. When enough pixels change, something moved.
- Record: it saves a clip, including a few seconds from before the movement, thanks to a rolling video buffer.
- Snap: it saves one photo for your alert.
- Alert: it sends that photo to your phone through a free service.
- Tidy up: a small routine deletes old clips so the card never fills.
All of this happens on the Pi. Because the alert goes out from your home, you don’t need to open any port on your router, which is the safest way to do it.
Getting the alert on your phone
| Service | What you need | Sends the photo? | Good to know |
|---|---|---|---|
| ntfy | A free app, no account | Yes | Your topic name works like a password, so make it long and random |
| Telegram bot | A Telegram account | Yes | Keep the bot’s token secret |
| Home Assistant | Home Assistant running | Yes | Best with Frigate, but there’s more to learn |
With ntfy and Telegram, your photo passes through their servers, so choose the one you’re comfortable with. To watch live video away from home, use a private network such as Tailscale, and never open a camera port to the internet. Frigate’s port 5000, for example, has no login at all.
Want it to recognise people?
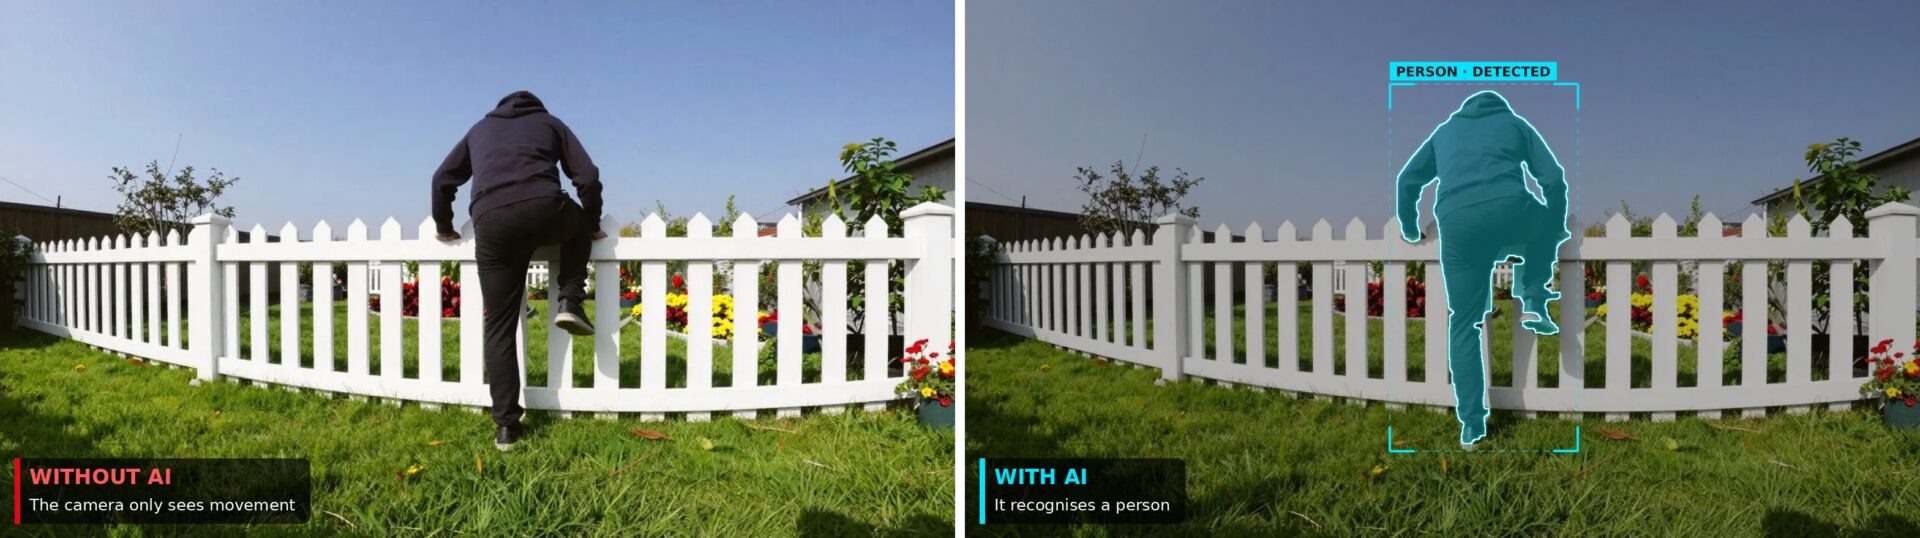
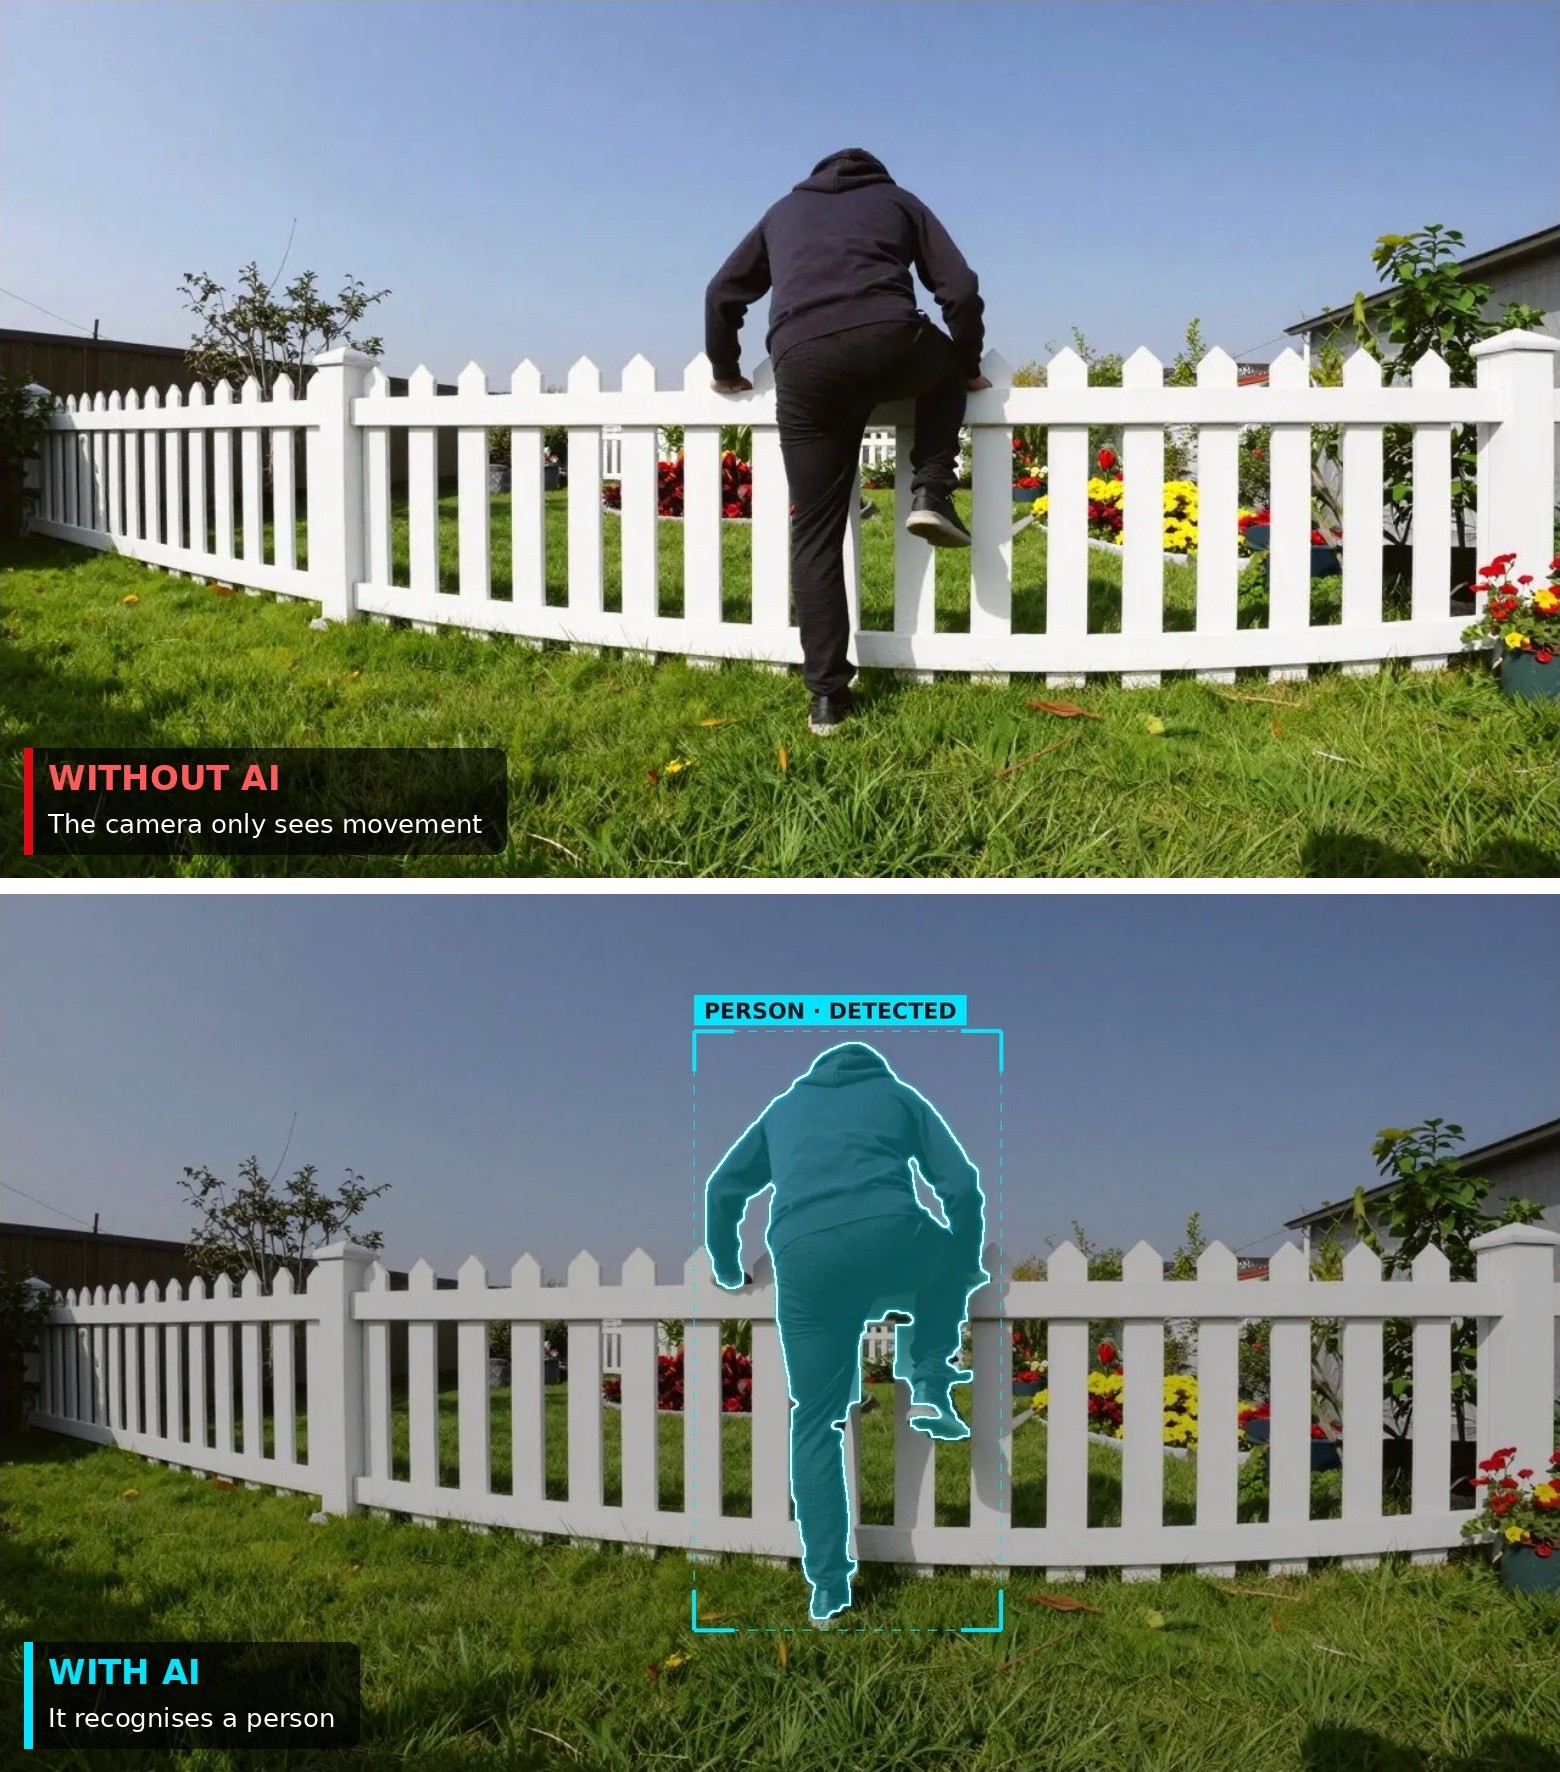
The upgrade is Frigate, free software that spots people rather than pixels, running with Raspberry Pi’s AI HAT+ 13 TOPS. Frigate lists about 11 ms per detection on that chip, and Jeff Geerling measured about 12 ms with two cameras on a Compute Module 5. That’s the AI’s speed, not the camera’s frame rate. It works best with a wired network camera, and it takes real setup time. Ask for the AI HAT+, because the older AI Kit is out of production.
Practical tips
- Outdoors: keep the Pi indoors. Raspberry Pi says not to expose it to water or heat. For outside views, use an outdoor network camera feeding a Pi inside.
- At night: a normal camera needs light, so a porch light is the easy answer. The NoIR version sees infrared only with an IR lamp, and forum users warn that IR bounces straight back off window glass.
- Storage: continuous 1080p at 4 Mbps uses about 43 GB a day by our sums, so a 128 GB card lasts about three days. Saving only clips lasts far longer.
Stay on the right side of the law
This is a safety camera, so keep it visible and tell your guests. In Spain, a camera used only inside your home falls outside data protection rules. But if it can catch people outside, the rules apply: film only your own property, put up a sign, and keep footage for one month at most. Aim it carefully too, because Frigate’s masks don’t hide areas from recordings.
In the US, audio is the main risk, as federal law and many state laws limit recording private conversations. The official camera modules have no microphone, so this build is video only. Rules vary by place, and this isn’t legal advice.
How to start
Ready to build? Our safety camera parts list shows what to buy, including the one cable that catches most people out.
Read next
- Raspberry Pi vs Arduino: which makes the best home NAS?
- Use your Raspberry Pi as an AI image generator
The week's best tech stories, free
One email a week with the stories that matter, explained simply. No spam.
Sources
- The Picamera2 manual – Raspberry Pi, 27 October 2026
- Camera documentation – Raspberry Pi, consulted 5 November 2026
- Raspberry Pi 5 – Raspberry Pi, consulted 5 November 2026
- Recommended hardware – Frigate, consulted 5 November 2026
- Masks – Frigate, consulted 5 November 2026
- Authentication – Frigate, consulted 5 November 2026
- Frigate with Hailo for object detection on a Raspberry Pi – Jeff Geerling, 18 February 2026
- motionEyeOS – GitHub, consulted 5 November 2026
- Publishing – ntfy, consulted 5 November 2026
- Bot API – Telegram, consulted 5 November 2026
- Notification attachments – Home Assistant, consulted 5 November 2026
- Pricing – Tailscale, consulted 5 November 2026
- Cámaras en la vivienda – AEPD, consulted 5 November 2026
- Ley Orgánica 3/2018 – BOE, consulted 5 November 2026
- 18 U.S. Code § 2511 – Cornell LII, consulted 5 November 2026