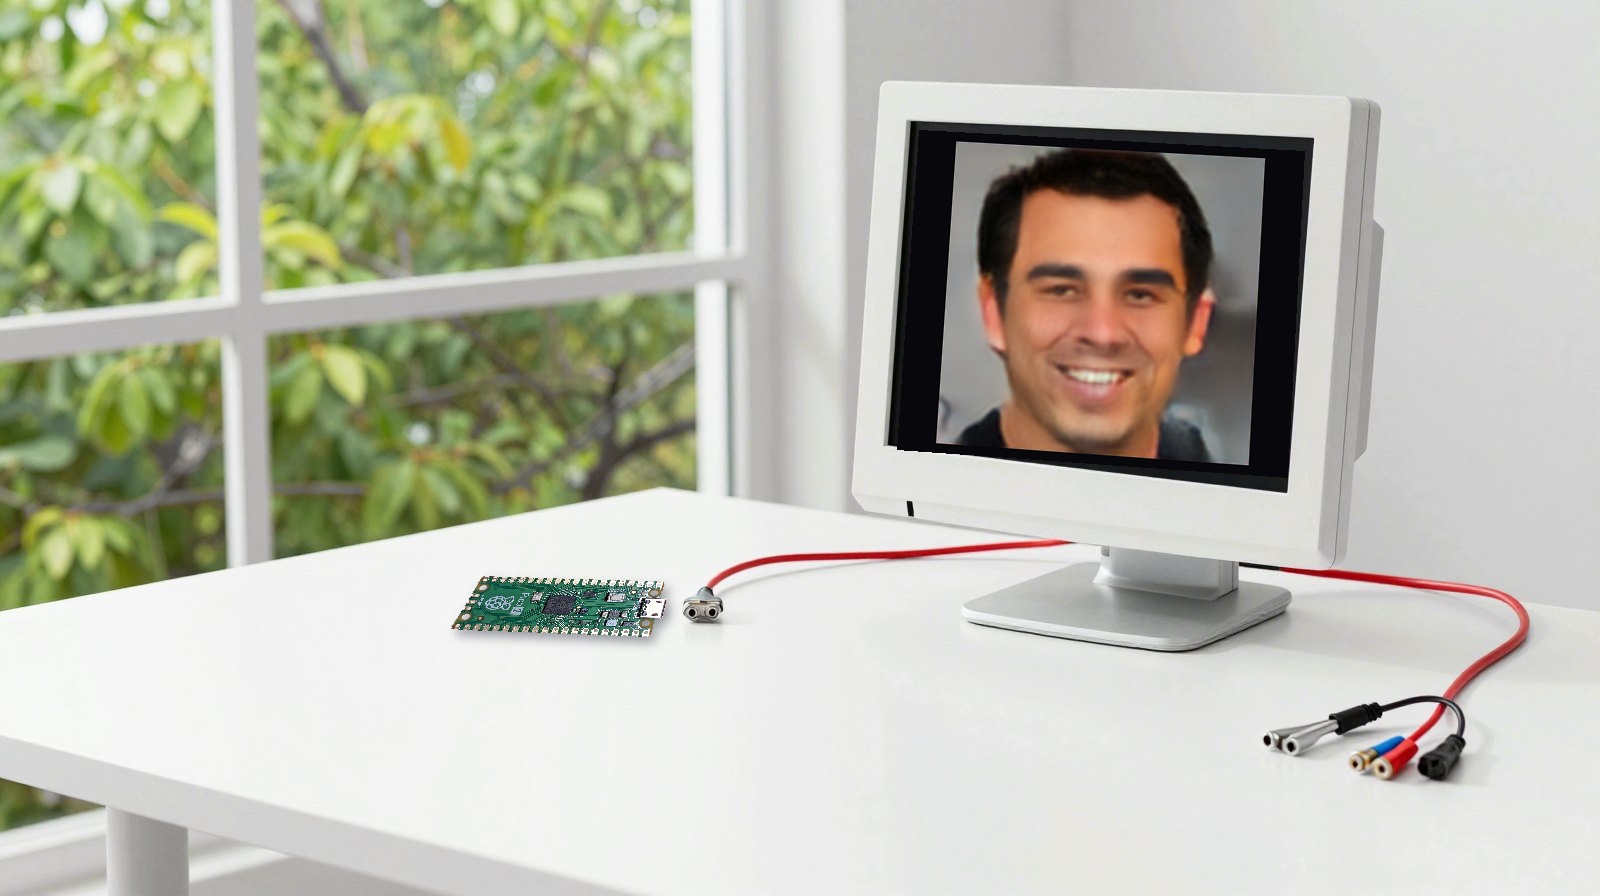
An AI that invents faces usually needs a powerful graphics card or a data centre. A developer known online as cpldcpu has squeezed one onto the RP2350, the chip inside the Raspberry Pi Pico 2, a tiny board makers normally use to blink lights and read sensors. Give it a few seconds and a new face appears, with no internet connection at all.
It’s a wonderful party trick with a serious point behind it. Image generators live on big computers because they are so hungry for memory. Pico-Faces, as the project is called, shows how far clever engineering can shrink one. It’s free, it’s open source, and you can try it at home.
The project at a glance
- What it does: creates 128 × 128 colour images of invented human faces.
- Runs on: a Raspberry Pi Pico 2 or a similar RP2350 board.
- Speed: about 5 seconds per image with the fast model, about 20 with the larger one.
- Difficulty: easy if you use the ready-made files; advanced if you want to retrain the AI.
- Cost: Budget (under $100), and you may already own the board.
- Licence: MIT, so you can use and change it freely.
How small is this chip, really?
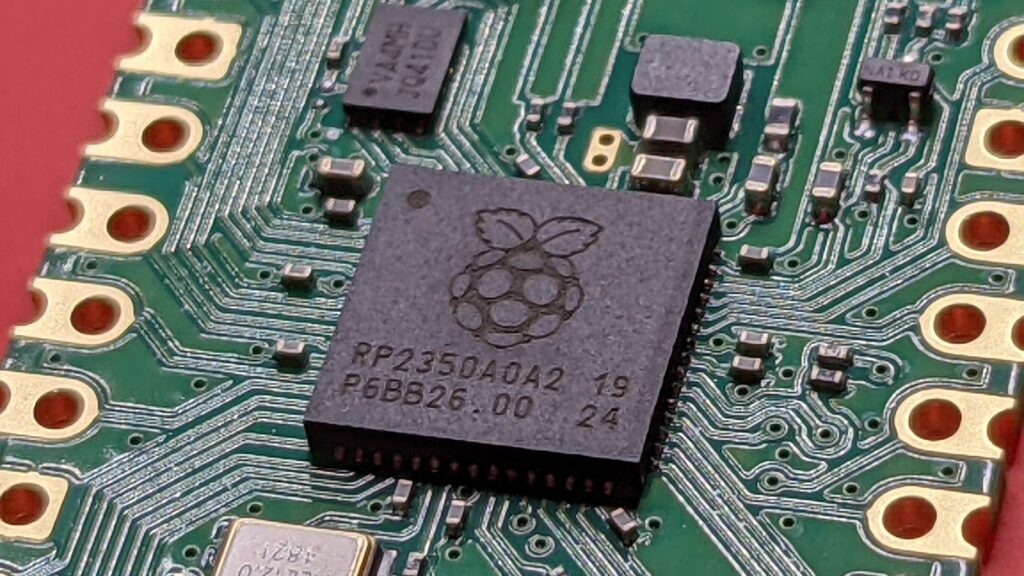
Very small. The Pico 2 has 520 KB of working memory and 4 MB of storage. A single photo from your phone can easily be bigger than that storage. The project also runs the chip at 300 MHz, twice its standard 150 MHz, so it can think a little faster.
Even so, its AI model and all the code fit inside that 4 MB. The creator says the model has about 4,000 times fewer parameters (the numbers an AI adjusts while it learns) than Flux, a well-known image generator.
Four tricks that make it fit
- It works on a tiny sketch. The AI never touches the full picture while it creates. It works on a compressed version 24 times smaller, and a small decoder turns that sketch into pixels at the very end.
- It uses simple numbers. The model’s weights are rounded to 8-bit whole numbers, a bit like writing 3 instead of 3.14159. They take far less space, and the chip handles them quickly.
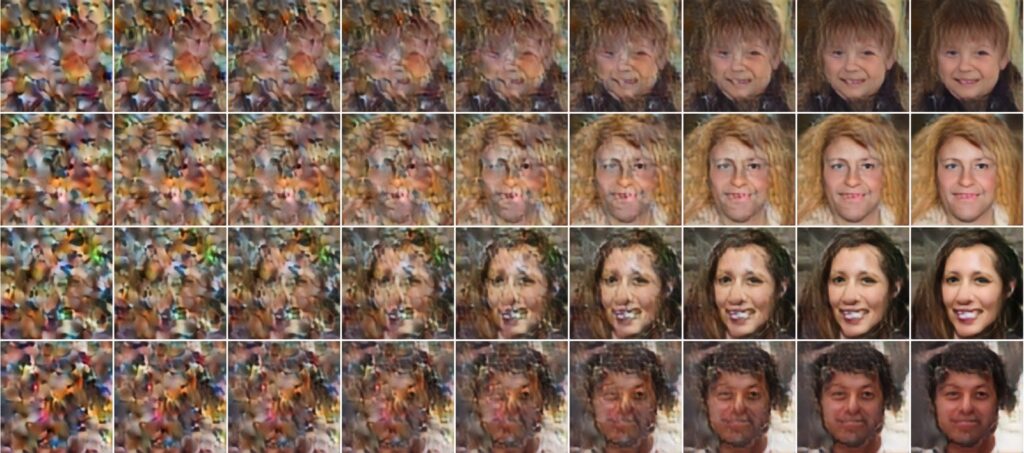
- It takes only eight steps. The picture starts as random noise, like an old TV between channels. In eight rounds of cleaning up, a face emerges.
- It reads while it works. The model is too big for working memory, so its numbers flow in from storage while the chip calculates. The memory that holds the picture doubles as a scratch pad too.
Those tweaks made it about 15 times faster than the first version. The heavy lifting happened elsewhere, though. The creator spent about two weeks experimenting and training on a high-end RTX 5090 graphics card, with FFHQ, a public collection of face photos. The chip only runs the finished result. The creator also leaned on an AI coding assistant for much of the programming, so a small AI got a helping hand from a bigger one.
What it can’t do

- It only makes faces. You can’t type “a cat on a skateboard”. There are five choices: combinations of gender and smile, or no preference.
- The pictures are small. At 128 × 128 pixels, a face is about the size of an app icon.
- Rounding has a price. The larger model lost some quality when its numbers were simplified, and a repair step only partly fixed it.
- It can’t learn on the chip. Training a new version takes a powerful graphics card.
How to try it
One thing first: this project is for the Pico 2 and other RP2350 boards, not for bigger Raspberry Pi computers such as the Pi 5.
You need a Pico 2, a USB cable and a computer. The project page has ready-made files, so you don’t have to compile or train anything:
- Download one of the two .uf2 files from the project’s uf2 folder. Pick the fast model if you’re impatient, and the larger one for better faces.
- Hold the BOOTSEL button on the board while you plug it in. It shows up on your computer as a drive called RPI-RP2.
- Copy the file onto that drive. The board restarts by itself.
- Install Python on your computer, then the small viewer tools listed on the project page. Run the viewer to watch your faces arrive over USB. On a Mac or Linux computer, change the port name from the Windows example.
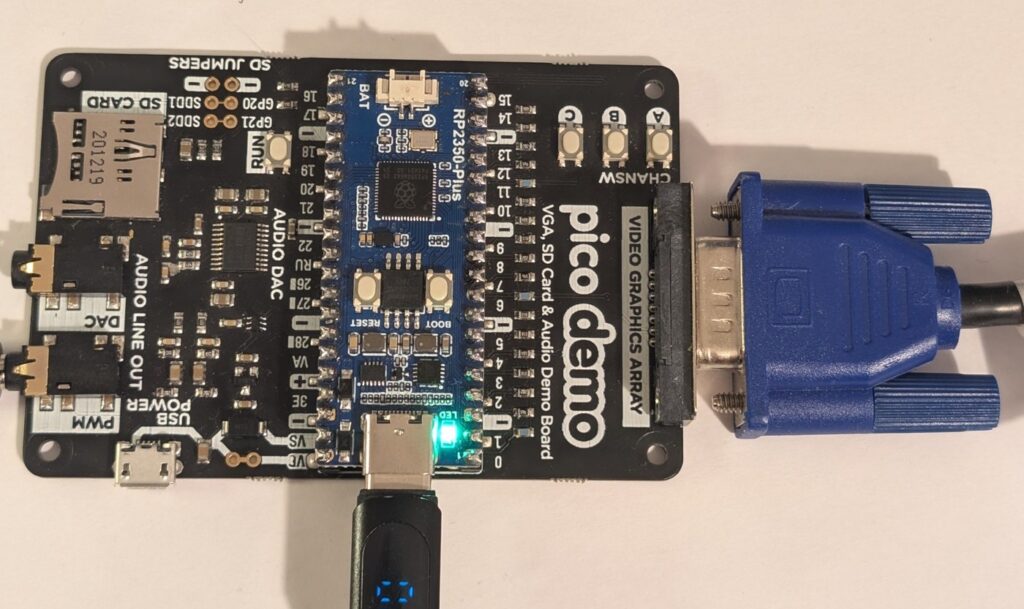
Want to skip the computer? Add a Pimoroni VGA Demo Base and an old VGA monitor, and the faces appear right on the screen, with a blurry preview while they form. Yes, VGA is decades old. That’s the charm: the board builds the video signal with little more than a set of resistors. Prefer a modern screen? Adafruit has published its own version with HDMI output and a colourful four-picture grid inspired by Andy Warhol, made for its Fruit Jam board.
Safety note: this one is very gentle, with no soldering or high voltages for the USB version. Just handle the bare board by its edges.
Ready to build one? Our parts list shows exactly what to buy, and what you can skip.
What happens next
The creator lists more shrinking to come, including smaller lookup tables and training that takes the rounding into account from the start. Others are already building on it, as Adafruit’s version shows.
Nobody will swap a big image generator for this. What it shows is more exciting for makers: a small AI that needs no cloud, no account and no subscription, on a board that fits in your palm. Next time you see a Pico sitting in a drawer, remember that it can do a lot more than blink.
Read next
- Arduino Ventuno Q: the board that gives robots eyes and a brain
- Build your own AI gadget: Meta’s Muse kit for ESP32 and Pi
- OpenCAL: an open-source 3D printer that prints in 90 seconds
The week's best tech stories, free
One email a week with the stories that matter, explained simply. No spam.
Sources
- AI Image Generation on an RP2350 Microcontroller – Tim’s Blog (cpldcpu), 28 August 2026
- pico-faces project page – GitHub, consulted 4 November 2026
- Running Generative AI On An RP2350 – Hackaday, 5 September 2026
- Pico-Faces Runs A 4 MB Diffusion Model On RP2350 – Electronics For You, 3 September 2026
- Pico-Faces on Fruit Jam – Adafruit Learning System, consulted 4 November 2026
- Raspberry Pi Pico 2 – Raspberry Pi, consulted 4 November 2026